Disclosure: Some product links are affiliate links; we may earn a commission if you buy through them.
Protocol
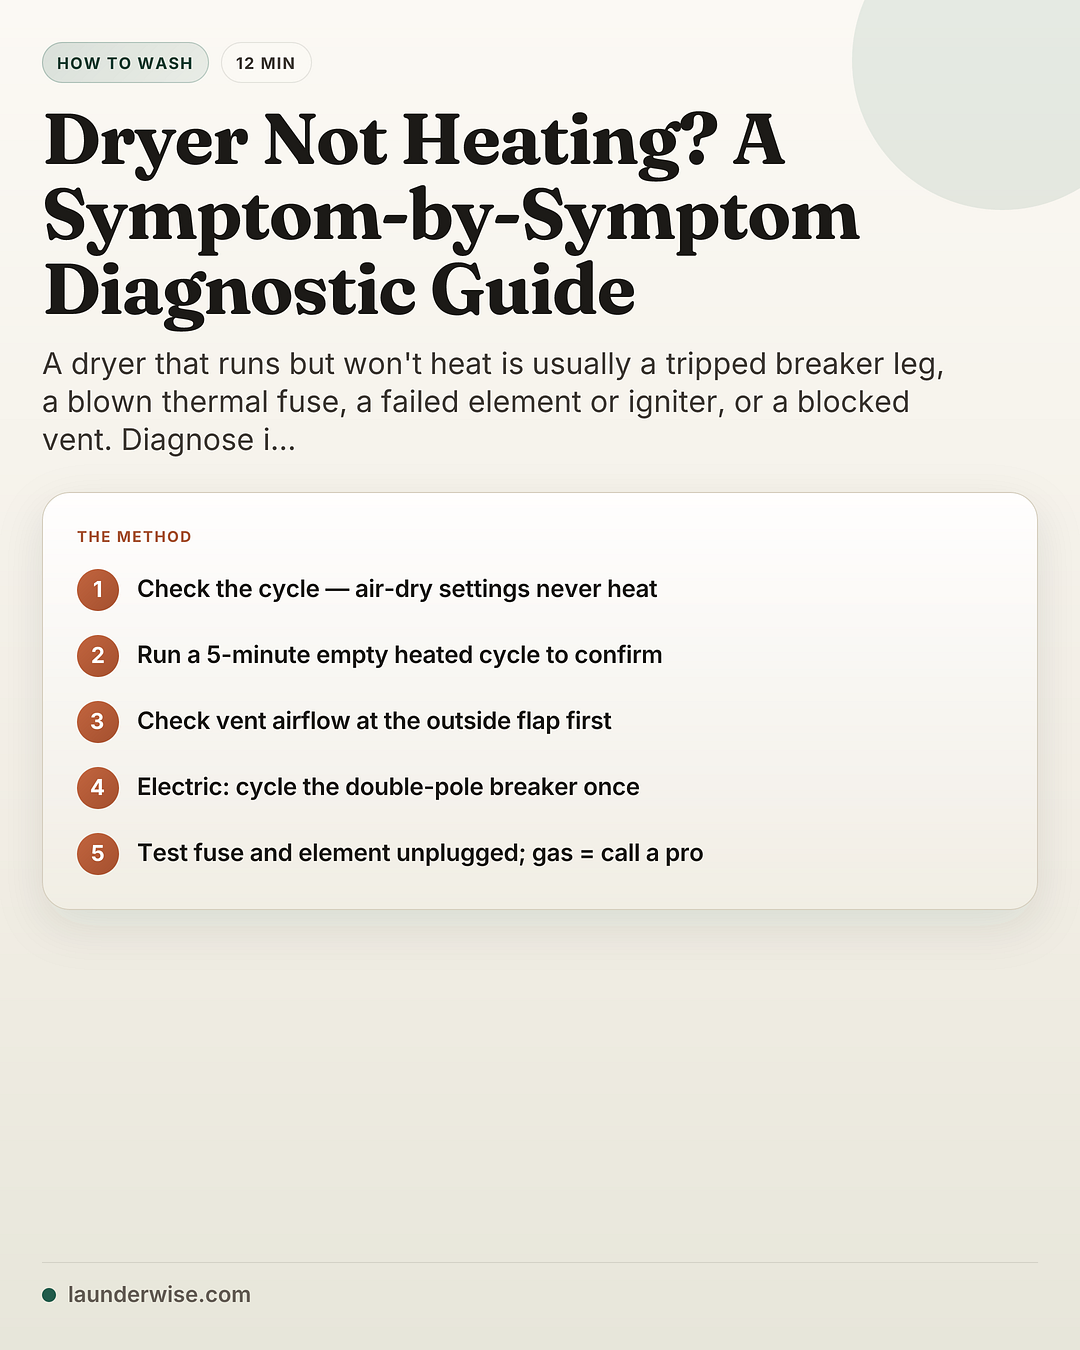
Method steps
- Rule out the settings and the loadConfirm a heated cycle is selected — air-dry and fluff cycles never engage the heater. Don't pack the drum past about three-quarters full, and if clothes go in soaking wet, re-spin them in the washer first: that's a washer fault, not a dryer fault.
- Run a five-minute empty heated cycleWhirlpool's confirmation test: run a timed heated cycle empty for about five minutes, then feel for warmth at the drum or exhaust. Cold air on a heated cycle confirms a true no-heat; warm-but-damp results point to airflow or sensing instead.
- Check the airflow from the outside inWith the dryer running, check that the exterior vent flap opens with visible airflow (CPSC's zero-tool test). Clean the lint screen, and check the transition hose behind the dryer for kinks. Weak or no airflow means the duct needs cleaning before any part gets replaced.
- Electric: cycle the double-pole breaker fully — onceAn electric dryer can run on one live 120V leg and still never heat (GE). Switch the double-pole breaker fully off, then on, one time. If it trips again, stop resetting and call an electrician.
- Gas: confirm the valve is open, then watch the igniterThe gas shutoff handle should sit parallel to the pipe. Through the inspection port, watch the igniter: glows then dies with no flame points to the gas valve solenoid coils; glows five minutes or more points to the flame sensor; no glow points to the igniter or an open safety circuit. Observation only — gas repair belongs to a licensed technician.
- Test the thermal fuse for continuity (unplugged)Unplug the dryer, find the thermal fuse on the blower housing, disconnect one lead and test continuity. No continuity means it has blown. It is a one-shot device — replace it, and clear the vent first, or the new fuse is likely to blow again.
- Test the heating element (electric, unplugged)Still unplugged, disconnect one element lead and measure resistance across the terminals. iFixit's typical reading is around 10 Ω, varying by model — confirm against the tech sheet. No continuity, or visible breaks and sagging coils, mean the element needs replacing.
- Decide: repair, technician, or replaceA blown fuse or a failed element on an accessible model is a reasonable DIY repair after testing. Gas-side parts, motor capacitors, control boards and repeated breaker trips are technician territory. Weigh a paid repair against the dryer's age and condition before committing.
A dryer that runs but never heats usually has one of four faults: a tripped leg of its 240-volt breaker (electric), a blown thermal fuse, a failed heating element or igniter, or a blocked vent that triggered the overheat cutoff. Diagnose in that order, unplugged — and stop at anything gas-side or live-voltage: that is technician territory.
A cold dryer is one of the few appliance faults where the pattern of the symptom does most of the diagnostic work for you. A dryer that has never heated since yesterday points to a different part than one that heats and then goes cold mid-cycle, and both differ from one that is merely slow and lukewarm. This guide routes each pattern to its likely causes — in cheapest-first order — and is explicit about where do-it-yourself diagnosis ends. It pairs with our dryer vent cleaning guide, which owns the cleaning method once airflow turns out to be the problem.
- Unplug the dryer before removing any panel or touching any component. On gas models, keep to observation only: do not open or work on burner or gas-side components — gas-side repair belongs to a licensed professional (Washington Gas).
- Never bypass or jumper a thermal fuse, even briefly to test — it exists to prevent fires.
- If you smell gas: stop, leave the area, and call your gas utility from outside. Utility emergency response is free (Washington Gas).
- Motor capacitors can hold a dangerous charge after unplugging. Motor and control-board work is a hard DIY stop.
- Do not tumble-dry items treated with volatile products such as spot removers in a gas dryer (Washington Gas).
First, match your symptom to a branch
Use this table to pick your starting point; the steps below give the actual checks. Heat-pump and ventless condenser dryers fail differently — see the edge cases before applying this table to one.
| Symptom | Most likely causes, in check order | First check (free) | Stop / call a pro if |
|---|---|---|---|
| Runs, but zero heat, ever | Electric: breaker leg → thermal fuse → element. Gas: valve → igniter chain → fuse | Cycle setting, then the five-minute test | Breaker re-trips; any gas-side repair |
| Heats, then goes cold mid-cycle | Restricted airflow tripping the dryer’s overheat protection | Exterior flap test while running | Airflow is clear but heat still cuts out |
| Low heat, clothes damp, cycles run long | Blocked vent, overfilled drum, soaking-wet loads, moisture-sensor film | Lint screen + load size | Slow drying persists after vent cleaning |
| Heat comes and goes between loads | Partially tripped breaker or loose terminal connections | Full breaker cycle, once | It recurs — intermittent electrical faults are tech work |
The branches converge on the same short list of parts, which is why the step-by-step below runs cheapest-first: settings, breaker and airflow cost nothing and resolve the most common cases before a multimeter ever comes out.
Electric dryer
- 1
Cycle the double-pole breaker, once
Trips again? Stop — electrician.
- 2
Test the thermal fuse, unplugged
One-shot part — clear the vent first
- 3
Measure the heating element
Confirm the reading on the tech sheet
Gas dryer
- 1
Confirm the gas valve is open
Handle parallel to the pipe
- 2
Watch the igniter through the port
Observation only
- 3
Gas repair = licensed technician
What you’ll need
Steps 1-5 need no tools at all. From step 6 onward you’ll want a
basic digital multimeter↗ with a continuity or ohms setting — the part tests below are continuity checks with the dryer unplugged, which is exactly what an entry-level meter does well.
Model number and tech sheet — often taped inside the lower panel or door frame; it holds your model's real test values
Know your fuel type — electric dryers use a large 240V plug; gas dryers use a standard plug plus a gas line
Nut driver or screwdriver set, flashlight, gloves — for panel access from step 6
Multimeter — continuity/ohms setting, needed for the fuse and element tests only
Step by step: from free checks to part tests
1. Rule out the settings and the load
Confirm a heated cycle is actually selected: air-dry, fluff and similar cycles never engage the heater (Whirlpool), and a bumped dial is the cheapest fix on this page. Don’t pack the drum past about three-quarters full — hot air needs room to circulate and clothes need room to tumble (Whirlpool). And if loads go in soaking wet, the dryer isn’t the problem: run a spin or drain-and-spin cycle in the washer first, and if wet loads keep coming, follow our washing machine won’t drain or spin guide.
2. Run a five-minute empty heated cycle
Whirlpool’s confirmation test separates a true no-heat from a slow-dry: run a timed heated cycle, empty, for about five minutes, then feel for warmth at the drum or the exhaust. Stone-cold air on a heated cycle confirms the no-heat branch. Warm air but damp clothes sends you to the airflow and load checks instead — different branch, different parts.
3. Check the airflow from the outside in
Go outside while the dryer runs: the exterior vent flap should open with visible airflow (CPSC). A shut flap or a trickle of air means the duct is restricted — and restricted airflow is exactly how heat builds up inside the machine until a safety device cuts it (CPSC). Clean the lint screen, check the transition hose behind the dryer for kinks, and if airflow is weak, clean the full duct run using our step-by-step vent cleaning guide before replacing any part. NFPA’s floor is a vent cleaning at least once a year — sooner when dry times lengthen; Whirlpool states every one to two years. As a habit, clean the lint filter every load (NFPA).
Samsung models: the dryer may be protecting itself
Samsung dryers deliberately reduce or cut heat when they detect a blocked vent, and many models include a built-in Vent Blockage test with clog codes such as CLg, Cg, C80 or C90. If you have a Samsung, run that test before touching a single screw — the dryer may be telling you the vent is the fault. This behavior is Samsung-specific; other brands rely on thermostats and the thermal fuse.
4. Electric path: cycle the double-pole breaker fully — once
Here is the mechanism the cause lists usually skip: an electric dryer runs on a dedicated 30-amp circuit fused on both sides of the line (Whirlpool), and the machine may run with partial voltage of 120V but will not heat unless it receives 208/240V (GE). Lose one leg and the drum spins while the heater plays dead. A double-pole breaker can be partially tripped while looking normal (GE), so switch it fully OFF, then ON — once. If it trips again, stop resetting and call an electrician; a breaker that won’t hold is reporting a fault, not inviting a retry. With the dryer unplugged, it’s also worth a visual check of the cord and terminal block area for scorched or loose connections — but leave live-voltage measurements at the outlet to the electrician. If you were hunting for a reset button: many US dryers don’t have one — “resetting” means this breaker cycle plus unplugging the machine for a minute.
5. Gas path: confirm the valve is open, then watch the igniter
First the no-tool check: the gas shutoff valve handle should sit parallel to the pipe — perpendicular means closed, and a closed valve produces exactly this symptom: drum turns, no heat (Whirlpool). If the valve is open, the igniter becomes your diagnostic window. Through the inspection port, if your model provides one (the tech sheet shows where), watch a heated cycle start (iFixit):
- Glows, then goes out — no flame: the gas valve solenoid coils are the classic suspect; they’re replaced as a set.
- Glows five minutes or more — no flame: points to the flame sensor.
- Never glows: the igniter itself, or an open safety-circuit fuse upstream.
That observation is as far as DIY goes on gas. Gas-side repair belongs to a licensed professional (Washington Gas), and NFPA recommends having gas dryers professionally inspected. The igniter chain just means the technician arrives at a diagnosis you can describe precisely.
6. Test the thermal fuse for continuity (unplugged)
Unplug the dryer, open the access panel (your tech sheet shows which), and find the thermal fuse on the blower housing (Sears PartsDirect). Disconnect one lead and set the multimeter to continuity: no continuity = blown. The fuse is a one-time device — it doesn’t reset, and it must never be bypassed or jumpered, even to test. Before fitting the replacement, go back to step 3: a blown thermal fuse is usually a symptom of restricted airflow, and a new fuse in front of a clogged duct is likely to blow again (Sears PartsDirect; iFixit). Fuse first, vent always.
7. Test the heating element (electric, unplugged)
Still unplugged, disconnect one lead of the heating element and measure across its terminals. iFixit’s typical reading is around 10 Ω (±10%), varying by model — your tech sheet has the real number. No continuity means an open element; visible breaks or coils sagging against the housing tell the same story without a meter. On the gas side, iFixit’s typical readings — varying by model, so confirm against the tech sheet — are roughly 80-400 Ω for the igniter and 500-1500 Ω for the solenoid coils, useful to confirm what you observed in step 5, with the repair still belonging to the technician.
8. Decide: repair, technician, or replace
Be honest about which bucket you’re in:
- Reasonable DIY after a confirmed test: thermal fuse; an accessible heating element; cleaning Samsung moisture-sensor bars (below).
- Technician, always: anything gas-side (valve, solenoids, igniter replacement), motor capacitors — which can hold a dangerous charge even unplugged — control boards, and any breaker that re-trips.
- Replace: there’s no honest universal dollar rule, and we won’t invent one. Weigh the repair quote against the dryer’s age, the part class (a one-shot fuse is the cheap end; gas valve or board work plus a service call is the expensive end), and whether this is the machine’s first fault or its third.
Edge cases and when this guide does not apply
Heat-pump and ventless condenser dryers. No exhaust duct, different heat source, different failure modes — the vent tests and thermal-fuse logic above do not transfer. Use the model’s service documentation instead.
The fuse keeps blowing. That is not bad luck; it’s the airflow telling you the duct, the transition hose, or the internal blower path is still restricted. Stop replacing fuses and do the full vent clean, including the exterior hood.
Sensor-dry cycles end early with damp clothes. On Samsung sensor models, two causes are documented: very small loads (roughly under four towels) may not trigger moisture sensing, and dryer-sheet residue can film over the sensor bars — Samsung says to clean the two curved metal bars inside the front of the drum with a soft cloth and a drop of dish soap. Other brands: check the manual for your model’s sensor-care step.
Rented homes. In a rental, document the symptom (the five-minute test result is a perfect description) and report it to the landlord or property manager rather than opening panels — gas-side repair still belongs to a licensed professional either way.
Mistakes that make a no-heat dryer worse
- Bypassing the thermal fuse “just to test”. That removes the one device standing between an overheating dryer and a fire. Test with a meter, unplugged — never with a jumper.
- Replacing the fuse without clearing the vent. The most common repeat failure on this page: the new fuse meets the same blocked airflow and blows. Vent first, then fuse.
- Resetting the breaker again and again. One full off-on cycle is diagnostic; repeated resets push current through whatever fault is tripping it. Re-trip = electrician.
- Buying parts before testing. A fuse, element and thermostat “shotgun kit” costs more than the continuity tests that would have named the part — and on gas models the suspect parts aren’t DIY-replaceable anyway.
- Probing live circuits. Every test in this guide is performed unplugged. Outlet voltage, live terminals and capacitor checks belong to professionals with the right equipment.
The honest bottom line
A dryer that runs but won’t heat is usually announcing one of a short list of faults, and the order of investigation matters more than the tools: settings, breaker and airflow solve the common cases for free, and two unplugged continuity tests cover most of the rest. The fire-safety subtext is real — failure to clean was the leading factor in roughly one-third of US home dryer fires (NFPA, 2010-2014 data) — which is why the airflow check sits in the middle of the diagnosis, not in a maintenance footnote. Once the heat is back, the vent cleaning guide keeps it that way; and if your laundry routine is fighting damp loads from the washer side, start with why the washer won’t drain or spin and the getting-started laundry guide for the load-size habits that keep both machines honest.