Disclosure: Some product links are affiliate links; we may earn a commission if you buy through them.
Protocol
Method steps
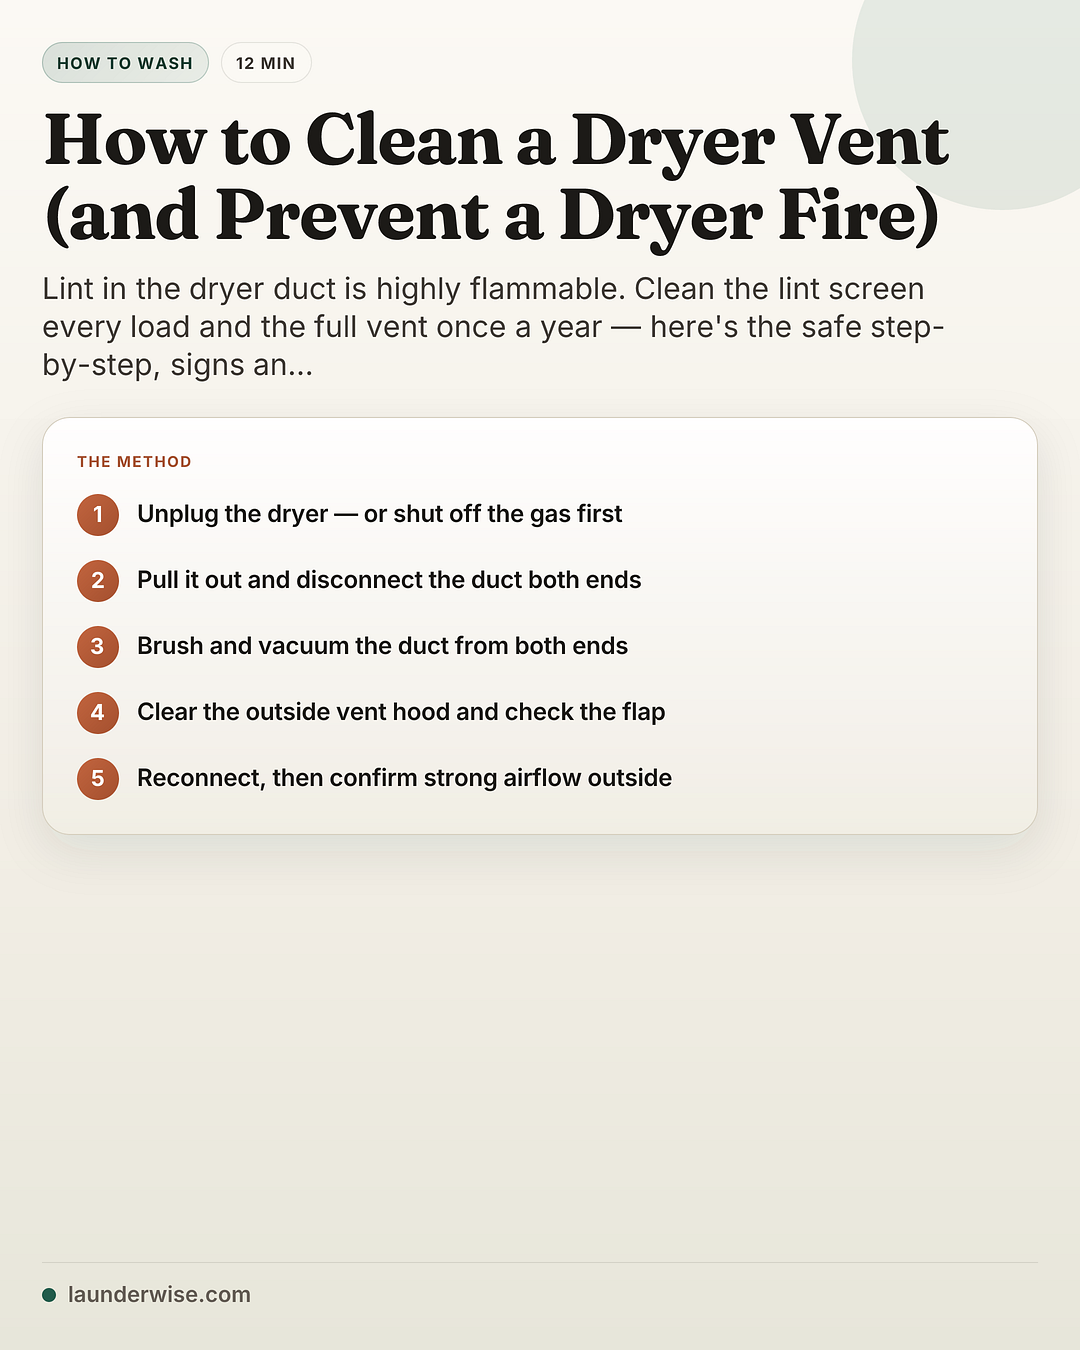
- Unplug the dryer, or shut off the gasFor an electric dryer, unplug it from the wall. For a gas dryer, close the gas supply valve before you move it. This is the step you don't skip — moving a live or gas-connected dryer is how people get hurt.
- Pull the dryer out from the wallEase the dryer forward about 30–45 cm (a foot or so) to reach the duct, ideally with a second person, and take care not to crush or kink the flexible transition hose behind it.
- Disconnect the duct at both endsLoosen the clamp or peel the foil tape where the duct meets the back of the dryer, and again where it meets the wall outlet. Note how it goes together so you can reconnect it the same way.
- Brush and vacuum the duct from both endsFeed a dryer-vent brush through the ducting and work it back and forth with a rotating motion, following the bends, then vacuum out the loosened lint. Do this from the dryer end and the wall/exterior end so the whole run is clear.
- Clean the exterior vent hood and check the flapOutside, remove or open the vent cover, pull out the matted lint, and clear any bird or rodent nest. Make sure the flap moves freely — a stuck flap both traps lint and signals a blockage.
- Clean the lint-trap slot and housingPull the lint screen, remove the lint by hand, and vacuum down inside the slot where lint also collects. If the screen feels filmy, wash it with a little dish soap and water to clear fabric-softener residue, then dry it before refitting.
- Reconnect, restore power or gas, and verify airflowRefit the duct securely at both ends with a clamp or foil tape (not sheet-metal screws, which snag lint), restore power or reopen the gas, then run the dryer and go outside to confirm strong, warm airflow at the exterior vent. Weak airflow means it's still partly blocked.
Clean the lint screen every load and the whole exhaust duct at least once a year — more with pets or a long run. Lint is highly flammable, and failure to clean lint is a leading contributing factor in home dryer fires (NFPA). Unplug (or shut off the gas), brush and vacuum the duct from both ends, then check for strong airflow outside.
There are two different “lint” jobs, and people only ever do the first. The lint screen you pull out between loads catches most of it — but a fine layer still escapes into the exhaust duct that carries hot, moist air outside, and that’s the layer that matters. Lint is highly flammable, and as it builds up in the duct it chokes the airflow, the dryer overheats, and the trapped lint can ignite (CPSC (external link)). Failure to clean lint is a leading contributing factor in home clothes-dryer fires (NFPA (external link)). Clearing the duct at least once a year is the core maintenance step.
Why a clogged dryer vent is a fire hazard
The mechanism is simple and worth understanding, because it’s also why a clogged vent makes drying slower. Lint that gets past the screen settles in the duct and restricts airflow; the dryer can’t push its hot, moist air out, so heat builds up, and the highly combustible lint sitting in that hot duct can catch fire (CPSC (external link)). A restricted airway also makes the dryer work harder and run longer — keeping the lint filter and airway clear helps it run efficiently (ENERGY STAR (external link)).
It also speeds up drying
A clogged vent doesn’t just risk a fire — it makes every load take longer, because the dryer runs extra cycles trying to shift damp air it can’t push out. If your washing suddenly needs two cycles to dry, a blocked vent is one of the first things to check.
Signs your dryer vent is clogged
Catch it early — these are the symptoms to act on (CPSC; U.S. Fire Administration):
- Clothes take much longer to dry, need a second cycle, or come out very hot.
- The dryer or laundry room feels hot during a cycle.
- A burning or musty smell while it runs.
- Lint piling up around the lint-trap slot or on the floor behind the dryer.
- The flap on the outside vent doesn’t open (or barely opens) when the dryer runs.
If you ever smell burning, stop the dryer and don’t run it again until the vent is clear. Towels and bedding are the heaviest, lintiest, slowest-drying loads, so they show a developing clog first — see how to keep towels soft and fluffy. And if the dryer runs but won’t heat at all, that’s a different diagnosis than a clog: follow the dryer not heating guide before cleaning anything.
Can you clean it yourself?
Use access and risk, not confidence, to decide. The job is easy when the duct is short and reachable; it stops being a good DIY job when you cannot verify the whole run.
| Situation | Best route | Why | Stop rule |
|---|---|---|---|
| Short, straight duct to an exterior wall | DIY full clean | You can brush/vacuum from both ends and verify airflow | Stop if airflow is still weak after cleaning |
| Long duct with several bends | Professional clean | Brush rods may not reach or may compact lint in bends | Do not force rods through tight turns |
| Roof or upstairs wall vent | Professional clean | Access and fall risk matter more than the brush kit | Do not climb or work from a roof without proper equipment |
| Gas dryer you are not comfortable moving | Professional move/clean | The gas connection changes the risk | If you smell gas, leave and call the utility |
| Plastic or foil accordion duct | Replace with rigid or semi-rigid metal | It kinks, traps lint and is discouraged by safety authorities | Do not reuse damaged or crushed ducting |
| Nest, pest debris or repeated clog | Professional inspection | The blockage may be beyond the visible hood | Clean once, then investigate if it returns quickly |
The final check is non-negotiable: after reconnecting the dryer, run it and go outside. The exterior flap should open and the airflow should feel strong and warm. If it is weak, noisy or pulsing, the duct is still restricted somewhere. Do not keep running test cycles to “push it through”; stop and clear the run.
Airflow check: what “clean enough” looks like
A dryer vent is not clean just because a brush came back with lint on it. The pass/fail test is airflow at the exterior hood while the dryer runs.
| What you see outside | What it means | Next action |
|---|---|---|
| Flap opens fully and airflow feels strong | The run is likely clear | Recheck after the next heavy towel or bedding load |
| Flap barely opens | Partial restriction, stuck flap or crushed transition hose | Stop, inspect the hood and the hose behind the dryer |
| Airflow pulses or sounds blocked | Lint may be compacted in a bend | Brush from both ends again, then call a pro if unchanged |
| No airflow, dryer heats up | Serious blockage or disconnected duct | Stop using the dryer until the run is cleared |
| Exterior hood is packed with lint again soon | Nest, long run, crushed duct or poor termination | Have the full run inspected |
This check is also a good way to catch installation problems. A crushed flexible hose behind the dryer can mimic a dirty duct; so can a flap painted shut, a pest screen clogged with lint, or a run that is simply too long and bendy for a DIY brush kit to clear. If the symptoms come back quickly after a full clean, treat it as a duct-design problem rather than a reminder to buy a stronger brush.
How often to clean it
| What | How often | Source |
|---|---|---|
| Lint screen | Every load, before or after | U.S. Fire Administration |
| Full vent / exhaust duct | At least once a year | Consumer Reports; NPS |
| Pets, heavy laundry, or a long/winding duct | More often than yearly | — |
| Manufacturer minimum | At least every two years | Maytag |
Lead with the annual clean: it’s the safety consensus across fire and consumer authorities, even though some manufacturers quote a two-year minimum. And whenever the warning signs above appear, clean it then — don’t wait for the calendar.
Loads that expose a weak vent first
If you are unsure whether the vent is borderline, watch the heaviest loads. A clear dryer vent can usually move enough air for towels, jeans and bedding; a restricted one struggles there first. If a normal shirt load dries fine but bath towels suddenly need a second cycle, the duct may be partly blocked even though the machine still “works.” The same applies after moving house, remodeling, or replacing a dryer: a new machine cannot overcome a crushed hose, a long hidden run, or an exterior hood packed with lint. Treat the first slow heavy load as an inspection trigger, not as a reason to run longer cycles.
What you’ll need
This is mostly a brush, a vacuum and a screwdriver. No specialist product is required; an inexpensive dryer-vent brush kit reaches the full run.
Use a proper foil tape made for duct joints↗ or a vent clamp when you reconnect the duct. Do not patch crushed plastic or foil accordion ducting; replace that run with rigid or semi-rigid metal.
A dryer-vent brush kit — flexible rods with a brush head, long enough for your duct run
A shop vacuum with a hose and nozzle
A screwdriver or nut driver — to release the duct clamps
Foil tape or a vent clamp — to reconnect the duct (never sheet-metal screws)
Gloves and a dust mask — lint is fine and messy
How to clean a dryer vent, step by step
- 1
Unplug, or shut off the gas
- 2
Disconnect the duct at both ends
- 3
Brush and vacuum from both ends
Follow the bends
- 4
Reconnect, then verify airflow outside
Weak flow = still blocked
1. Unplug the dryer, or shut off the gas
For an electric dryer, unplug it. For a gas dryer, close the gas supply valve before you move it. Don’t skip this — moving a live or gas-connected appliance is how people get hurt.
2. Pull the dryer out from the wall
Ease it forward about 30–45 cm (a foot or so) to reach the duct, ideally with a second person, taking care not to crush or kink the flexible transition hose behind it.
3. Disconnect the duct at both ends
Loosen the clamp or peel the foil tape where the duct meets the back of the dryer, and again at the wall outlet. Note how it fits together so you can reconnect it the same way.
4. Brush and vacuum the duct from both ends
Feed the dryer-vent brush through the duct, working it back and forth with a rotating motion and following the bends, then vacuum out the loosened lint. Do it from the dryer end and the wall/exterior end so you cover the run from both directions.
5. Clean the exterior vent hood and check the flap
Outside, open or remove the vent cover, pull out the matted lint, and clear any bird or rodent nest. Confirm the flap moves freely — a stuck flap traps lint and signals a blockage.
6. Clean the lint-trap slot and housing
Pull the lint screen, remove lint by hand, and vacuum down inside the slot, where lint also collects. If the screen feels filmy, wash it with a little dish soap and water to clear fabric-softener residue, then dry it before refitting.
7. Reconnect, restore power or gas, and verify airflow
Refit the duct securely at both ends with a clamp or foil tape rather than sheet-metal screws, which snag lint (Consumer Reports (external link)), restore power or reopen the gas, then run the dryer and go outside to confirm strong, warm airflow at the exterior vent. Weak airflow means it’s still partly blocked (CPSC (external link)).
When to call a professional
A short, straight, ground-floor duct is a reasonable DIY job. Call a professional when:
- the duct is long or has several bends, or runs up to a roof or through an upstairs wall a brush can’t reach;
- it’s blocked by a nest or clogs again soon after cleaning;
- there’s gas-line work you’re not comfortable doing; or
- you ever smell gas — leave first, then call your utility.
Professional cleaning costs vary widely by region and duct length, so get a couple of local quotes rather than trusting a single figure.
- Lint is highly flammable. Never run the dryer without its lint filter in place, and never let lint build up in the duct — clean the screen every load (U.S. Fire Administration) and the duct at least yearly (Consumer Reports; National Park Service).
- Don't vent a dryer indoors — into the house, attic or crawlspace. Vent it outside, and replace flimsy plastic or foil accordion ducting with rigid or semi-rigid metal, which traps less lint and won't kink (CPSC; Consumer Reports). Keep the outside termination clear.
- Gas dryers: shut off the gas before moving the dryer, and don't strain the gas line. If you ever smell gas, leave the area and call your gas utility or a licensed professional from outside — do not operate the dryer.
- Take care with clothes soiled with petrol, cooking oil or cleaning solvents — the residue can heat up and ignite in a dryer. Wash such items more than once and hang-dry them if you can, or tumble on low heat with a cool-down cycle, and never leave a pile of oil-stained laundry sitting in or near the dryer (CPSC).
The honest bottom line
Cleaning a dryer vent is a once-a-year job that takes an hour or two and reduces a hidden fire risk many people miss. Do the two-part clean — the screen every load, the full duct yearly — keep the ducting metal and the outside flap clear, and hand the long, roofed or gas-connected runs to a professional. The payoff is a safer setup and, when airflow was the bottleneck, shorter drying cycles.
For the washer side of laundry-appliance care, see how to clean a smelly washing machine; and for why a struggling dryer drags out drying times, the laundry temperature guide.