Disclosure: Some product links are affiliate links; we may earn a commission if you buy through them.
Protocol
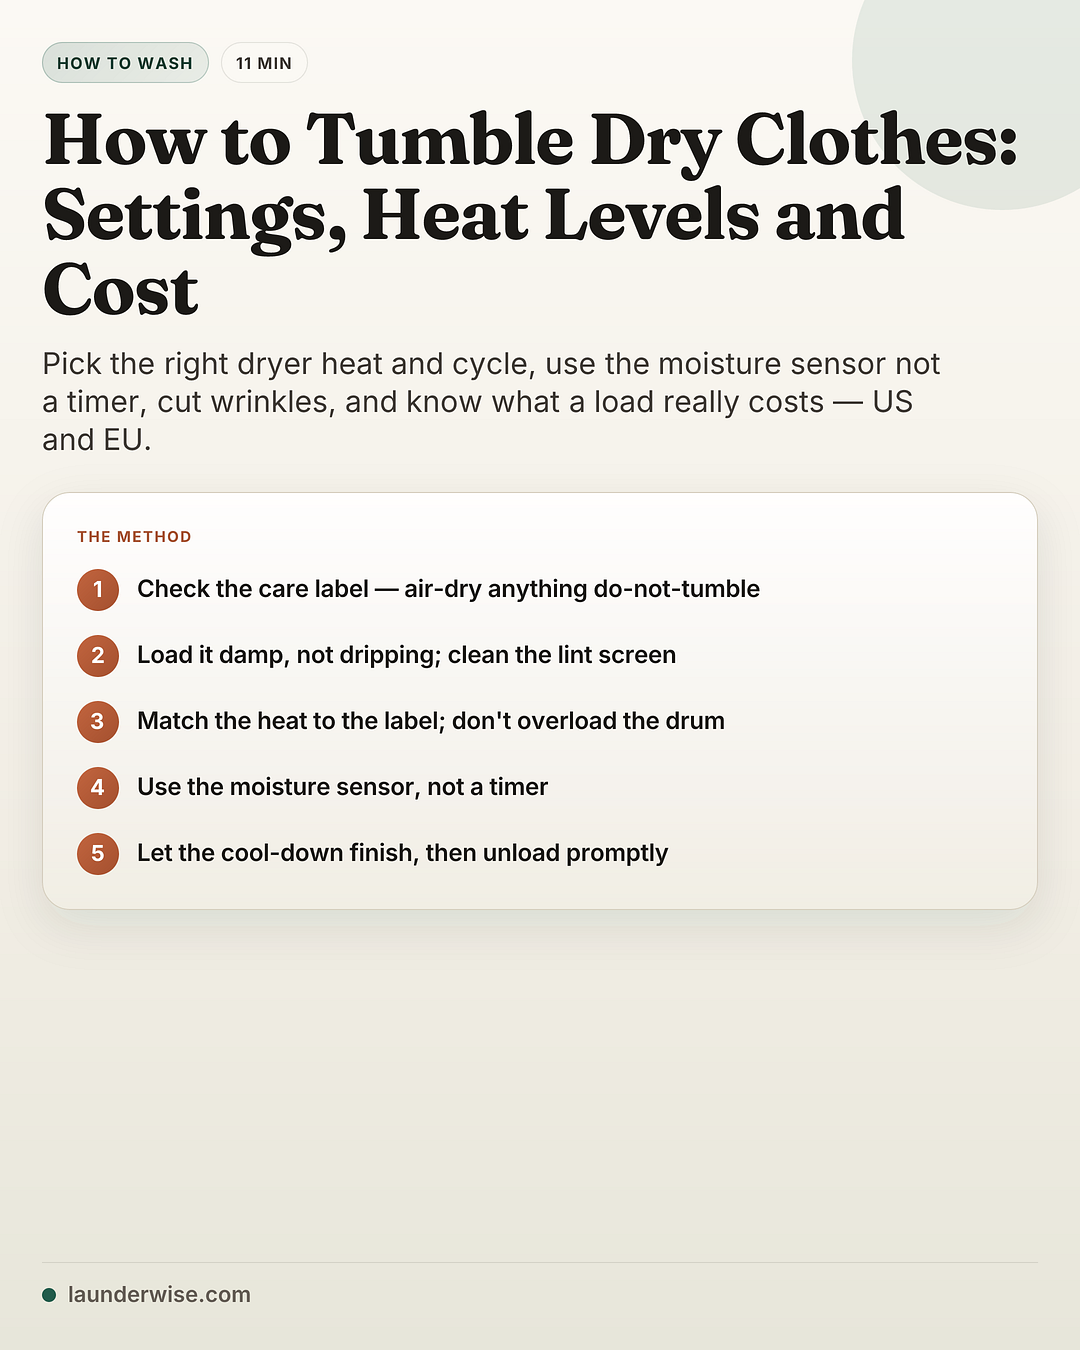
Method steps
- Check the care label firstRead the care label before anything else. If it says not to tumble — a crossed-out dryer symbol — air-dry the item; otherwise the label's heat dots set the maximum heat. For which fibres can go in and at what heat, see the fibre guide.
- Spin the load damp, not drippingClothes should go in damp, not soaking. If a load came out of the wash dripping, give it an extra spin in the washer first.
- Clean the lint screen and sort the loadClean the lint screen every load: it keeps air moving and prevents fires (U.S. DOE). Then dry towels and heavy cottons separately from lighter clothes so nothing over-dries, and if you only have one item to dry, add two similar items so it tumbles and the sensor reads it correctly (GE).
- Don't overload the drumClothes need room to tumble freely, so don't cram the drum — leave space for the load to move (GE).
- Pick the heat for the fabricMatch the heat to the care label. Permanent press / medium heat suits no-iron items and synthetics (GE); use a lower setting for anything heat-sensitive. For which fibres can go in and at what heat, follow the fibre guide.
- Choose sensor (auto) over a timer where you canPick the moisture-sensor cycle if your dryer has one: it stops when the load reaches the dryness you set, instead of running blind on a timer (IEC 61121; U.S. DOE). Use a short timed cycle only for a few stragglers or a dryer with no sensor.
- Let the cool-down finish, then unload promptlyThe drum keeps tumbling cool for a few minutes after the heat turns off — that cool-down relaxes wrinkles, which is why it is still moving after the beep (GE). Take the load out and hang or fold it straight away to keep creases from setting.
Tumble drying means machine-drying a load that’s damp, not dripping. Clean the lint screen, match the heat to the care label, and — where your dryer has one — pick the moisture-sensor cycle over a timer, so it stops when clothes are dry instead of over-baking them. Let the cool-down finish, then unload promptly.
Starting a dryer is easy. Choosing the heat and cycle so clothes come out dry, not shrunk, baked or creased — and knowing what that costs — is the part nobody explains well. Two ideas carry most of the work: the garment’s care label sets the safe maximum heat, and a moisture sensor stops the cycle when the load is actually dry. We’ll also be straight about the gadgets people ask about, like wool dryer balls↗. Everything below builds on those.
The settings that matter: heat levels
Dryers label heat as low, medium, high and no-heat — but those labels aren’t tied to a fixed temperature. The international test method, IEC 61121 (external link), rates dryers by how much moisture they remove, not by labelling heat levels, so any “low is 125 °F, high is 150 °F” figure you find online is approximate and varies by model. The one temperature a manufacturer states cleanly is the permanent-press cycle, which GE (external link) describes as tumbling at about 140 °F (about 60 °C) before turning the heat off and tumbling about ten more minutes to cool the load.
So pick the setting by what your care label allows, not by a number:
| Setting | What it is | Choose it by |
|---|---|---|
| High | The hottest setting | Only items the care label clears for high heat |
| Medium / Permanent press | Controlled heat (perm press ≈ 140 °F) then a cool-down | No-iron items and synthetics; the cool-down relaxes wrinkles |
| Low / Delicate | A gentler, cooler tumble | Items the label says to keep cool |
| No heat / Air fluff | An unheated tumble | When you don't want to add heat to the load |
Which fibres can actually go in, and at what heat, is set by the garment’s care label and its tumble-dry symbol — see what can (and can’t) go in the tumble dryer for the fibre-by-fibre guide, and the glossary for the symbols. And don’t confuse dryer heat with wash temperature: those are set separately, on the washer side, in the laundry temperature guide.
Sensor drying versus a timer
This is the single most useful setting on a modern dryer, and the one guides skip. Under IEC 61121 (external link), a sensor (automatic) dryer switches off when the load reaches a set moisture level, while a timed (non-automatic) dryer just runs for the time you set — whether the clothes are dry or not.
Sensor wins for almost everything. The U.S. Department of Energy (external link) puts it plainly: if your machine has a moisture sensor, use it, and don’t over-dry. Stopping at the right point saves energy and spares the fabric — ENERGY STAR (external link) notes that the sensors on certified dryers end the cycle when clothes are dry, reducing both energy use and the over-drying that wears fabric out.
| Sensor (auto) dry | Timed dry | |
|---|---|---|
| What it does | Stops when the load hits the dryness you set | Runs a set time, then stops |
| Best for | Almost everything — make it the default | A few stragglers, or a dryer with no sensor |
| Main risk | Misreads a very small load | Over- or under-drying the load |
One catch: a sensor reads a tiny load poorly. If you’re drying a single item, add two similar items so it tumbles and the sensor reads it correctly (GE (external link)).
Dryness levels and the cool-down
Many dryers let you choose how dry the load gets, not just dry or not, and a sensor cycle stops the dryer when the load reaches the dryness level you pick (IEC 61121 (external link)).
If you’ve ever wondered why the drum keeps turning after the cycle beeps, that’s the cool-down: the dryer tumbles the load without heat for a few minutes, which relaxes wrinkles (GE (external link)). If you can’t unload right away, hanging or folding as soon as you can still keeps most creases from setting.
How to tumble dry, step by step
Before you load the dryer, a quick pre-flight:
Care label checked (anything the label says not to tumble → air-dry)
Clothes spun damp, not dripping
Lint screen cleaned
Load sorted by weight; drum not overloaded; single items given companions
Heat level and cycle chosen (sensor where available)
1. Check the care label first
Read the care label before anything else. If it says not to tumble — a crossed-out dryer symbol — air-dry the item; otherwise the label’s heat dots set the maximum heat. For which fibres can go in and at what heat, see the fibre guide.
2. Spin the load damp, not dripping
Clothes should go in damp, not soaking. If a load came out of the wash dripping, give it an extra spin in the washer first.
3. Clean the lint screen and sort the load
Clean the lint screen every load: it keeps air moving and prevents fires (U.S. DOE (external link)). Then dry towels and heavy cottons separately from lighter clothes so nothing over-dries, and if you only have one item to dry, add two similar items so it tumbles and the sensor reads it correctly (GE (external link)).
4. Don’t overload the drum
Clothes need room to tumble freely, so don’t cram the drum — leave space for the load to move (GE (external link)).
5. Pick the heat for the fabric
Match the heat to the care label. Permanent press / medium heat suits no-iron items and synthetics (GE (external link)); use a lower setting for anything heat-sensitive.
6. Choose sensor (auto) over a timer where you can
Pick the moisture-sensor cycle if your dryer has one: it stops when the load reaches the dryness you set, instead of running blind on a timer (IEC 61121 (external link); U.S. DOE (external link)). Use a short timed cycle only for a few stragglers or a dryer with no sensor.
7. Let the cool-down finish, then unload promptly
The drum keeps tumbling cool for a few minutes after the heat turns off — that cool-down relaxes wrinkles, which is why it’s still moving after the beep (GE (external link)). Take the load out and hang or fold it straight away to keep creases from setting.
Run loads back-to-back
Drying loads back-to-back reuses the heat already in the drum, which saves energy (U.S. DOE (external link)).
What a load costs to run
Only the energy and water quantities are anyone’s to source — your bill depends on your own tariff. The figures also differ by region and shouldn’t be blended, so here they are separately.
In the EU, a heat-pump dryer uses about 1.0 kWh per cycle, versus about 2.7 kWh for a vented or condenser-resistance dryer (2020 baseline, European Commission (external link)). The 2025 energy label was rescaled so A is best (European Commission (external link)). Under EU Regulation 2023/2533 (external link), it shows energy per 100 eco cycles — the eco programme being defined as drying cotton from 60% down to 0% moisture — and condenser dryers must reach at least 80% condensation efficiency and an energy efficiency index no higher than 85. The Commission expects the new EU rules to save 15 TWh of energy and €2.8 billion on bills by 2040 (EC (external link)).
In the US, ENERGY STAR (external link)-certified dryers use about 20% less energy than conventional models, and heat-pump models can save 20–60% more (U.S. DOE (external link)). For a real number, multiply your dryer’s per-cycle energy by your own electricity price.
Vented, condenser or heat-pump?
A vented dryer ducts its warm, moist air outside; a condenser or heat-pump dryer captures that moisture into a tank instead — which is why the EU rates condenser dryers on condensation efficiency (at least 80%, EU Regulation 2023/2533 (external link)). Heat-pump is the most efficient type (ENERGY STAR (external link)).
Dryer balls and wrinkles
Wool or rubber dryer balls are sold as a way to speed up drying, but independent testing doesn’t support the big numbers on the packaging; any real benefit is small and inconsistent, and comes mostly from the balls separating the load so air moves better (independent reanalysis (external link)). If you use them, treat any drying-time saving as a bonus rather than the reason to buy.
For wrinkles, the fixes are mechanical, not chemical: don’t overload, let the cool-down finish, and take the load out promptly to hang or fold (GE (external link)). For performance and water-repellent gear, the how to wash activewear guide covers the dryer-care specifics.
Tumble dry or air-dry?
The dryer is fast and convenient, but it isn’t free and it isn’t gentle. Over-drying wears fabric out, which a sensor cycle helps avoid (ENERGY STAR (external link)); air-drying skips the heat entirely.
| Tumble dry | Air-dry | |
|---|---|---|
| Speed | Fast | Slow |
| Cost | Uses energy (see the figures above) | Free |
| Heat on the fabric | Heat, with over-dry wear if you don't stop in time | No heat at all |
| Best for | Everyday loads the care label clears for the dryer | Anything the label says not to tumble |
Safety: lint and flammable residues
- Clean the lint screen every load — it keeps air moving and is a fire precaution, and vacuum the lint that collects below the screen now and then ([U.S. DOE](https://www.energy.gov/energysaver/laundry)).
- Never tumble-dry clothes soiled with flammable or volatile chemicals — cooking oil, machine oil, gasoline or solvents — even after washing, because they can ignite in the dryer; air-dry those instead ([U.S. CPSC](https://www.cpsc.gov/s3fs-public/5022.pdf)).
Lint in the screen is the easy part; the lint that builds up deeper in the exhaust duct needs clearing too, and that’s a separate job — a dryer-vent brush kit↗ and the full method are in how to clean a dryer vent. And if the drum turns but the load comes out cold and damp, that’s a heating fault, not a settings problem: the dryer-not-heating guide walks through it.
The bottom line
Three things decide how a load comes out: load it damp, not dripping and clean the lint screen every time; match the heat to the care label rather than to an online temperature chart; and use the moisture sensor instead of a timer so the dryer stops when the clothes are dry. Do those, let the cool-down finish, and unload promptly — and reserve air-drying for the heat-sensitive things that shouldn’t be in there at all.
Related reading
- What can (and can’t) go in the tumble dryer? — the fibre-by-fibre guide and the care symbols.
- How to clean a dryer vent — the lint that matters most for fire safety.
- Dryer not heating? — when the drum turns but the load stays cold.
- How much does laundry weigh? — load sizes, and the calculator for “will it fit”.
- Laundry temperature guide — the wash-side temperatures, not to be confused with dryer heat.