Disclosure: Some product links are affiliate links; we may earn a commission if you buy through them.
Protocol
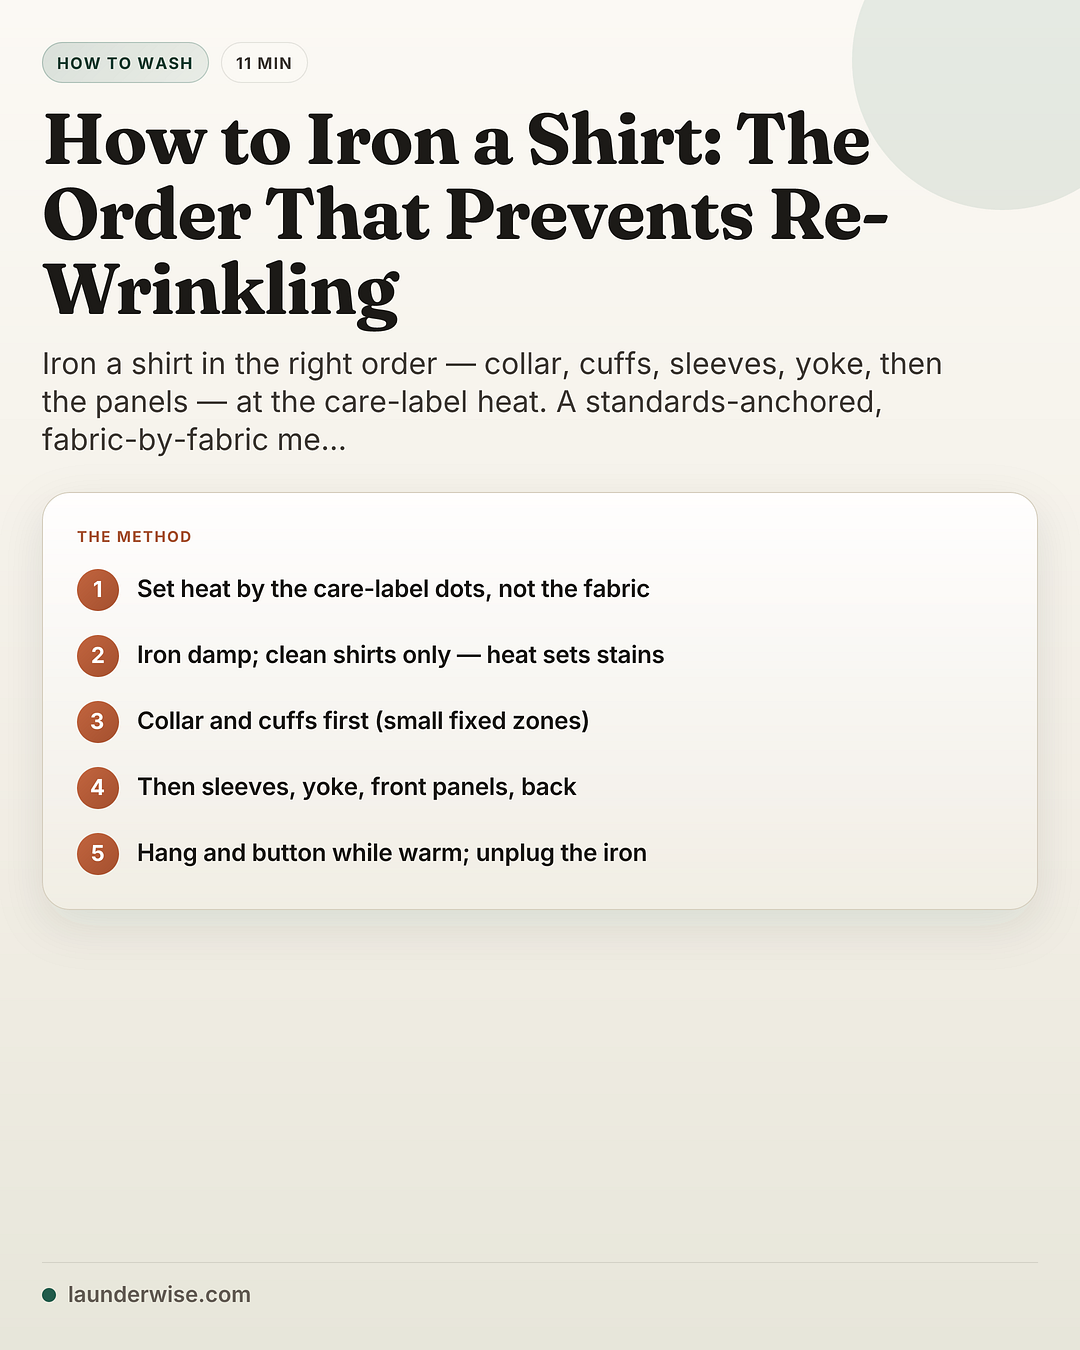
Method steps
- Set the heat from the care label, not the fabricFind the iron symbol on the care label and match your iron to it: one dot is low (max 120°C, no steam), two dots medium (max 160°C), three dots hot (max 210°C), and a crossed-out iron means do not iron. GINETEX is explicit that the label, not the fabric, sets the ceiling.
- Prep the shirt: damp beats dryIron a newly washed, still-damp shirt, or lightly dampen a dry one with a spray of water first — it presses smoother and faster. Iron only clean shirts; ironing over a stain can set it permanently.
- Iron the collarUnfold the collar and iron the underside first, working from the points inward toward the collar stand, then flip it and finish the top.
- Iron the cuffsUnbutton the cuffs and lay them flat. Iron the inside first, then the outside, pressing carefully around the buttons rather than over them.
- Iron the sleevesLay each sleeve flat and line it up a few millimetres over the edge of the board so you do not press an unwanted crease line into it; smooth from the shoulder seam down toward the cuff.
- Iron the yoke and shouldersDrape the shoulder area over the rounded end of the board and work the iron across it; from here on, plenty of steam helps on cotton and linen.
- Iron the front panels and placketWork each front panel from the side toward the centre, and use the tip of the iron to press around and between the buttons; do the placket carefully so the buttons sit flat.
- Iron the backDrape the back over the board in two passes, smoothing from the yoke downward.
- Finish: hang, button and coolHang the shirt and button the top button straight away so the collar holds its shape, let it cool on the hanger, then turn off and unplug the iron.
Iron a shirt in the order that stops you re-wrinkling finished areas: collar, cuffs, sleeves, yoke, then the front panels and back — small fixed zones first. Always set the heat from the care-label iron dots — one dot is low, three is hot — never by guessing the fabric. Iron clean shirts only; heat sets stains permanently.
Ironing has exactly two ways to go wrong, and both are avoidable. You re-wrinkle a panel you already smoothed, or you scorch the cloth with the wrong heat. The first is solved by order, the second by reading one symbol on the care label. Get those two right and the rest is just technique.
The order works because you start with the small, fixed zones — the collar and cuffs — and finish with the large panels. Eton and Downy, a shirtmaker and a laundry brand, both follow that principle (they differ only on exactly where the sleeves fall). Iron the big front panel first and you will crush it again reaching across it to do the collar; do the collar first and nothing you press later disturbs it. That is the whole rule: fixed, fiddly bits first; big flat expanses last.
Before you start
Read the iron symbol on the care label first — count the dots; a crossed-out iron means do not iron.
Iron clean shirts only — heat can set an existing stain permanently.
Start damp — iron a newly washed shirt, or spritz a dry one with water (Eton).
Match the iron to the dot setting before you start.
What you’ll need
Four things cover almost every shirt. An iron↗ with a temperature dial that matches the dot system, and a stable ironing board — the rounded “nose” end is what makes collars, yokes and sleeve caps easy. A spray bottle of water to re-dampen a shirt that has dried out, or to spot-wet a stubborn crease. And a pressing cloth — a thin cotton or muslin square you lay between the soleplate and the fabric — for anything delicate or dark, where direct heat would shine or mark the cloth. A sleeve board (a miniature board for the inside of a sleeve) is a nice extra for dress shirts but not essential; the edge-of-the-board trick in step three does the same job. You do not need starch to iron a shirt well — it’s a finishing preference for extra crispness, not part of the method.
What heat for which fabric
Here is the rule almost every ironing guide skips: the care label sets the heat, not your guess about the fabric. GINETEX — the body behind the international ISO 3758 care symbols — states it plainly: the maximum temperature “must be selected solely on the basis of the care label and not according to the fibre content.” The iron symbol’s dots cap the soleplate temperature, and that ceiling is binding.
Use the table below as a guide to what the dots usually mean by fabric (mapped by the iron-maker Rowenta), with the GINETEX ceiling for each dot — but if the label and the table ever disagree, the label wins.
| Care-label dots | Max soleplate (GINETEX) | Typical fabrics (Rowenta) | Steam |
|---|---|---|---|
| One dot · low | 120°C / 248°F | Silk, satin, nylon, lace | Little or none — one dot means no steam |
| Two dots · medium | 160°C / 320°F | Polyester, rayon, wool blends | Light steam |
| Three dots · hot | 210°C / 410°F | Cotton, linen, denim | Steam — most effective here |
| Crossed-out iron | Do not iron | Anything the label so marks | GINETEX: irreversible changes must be expected |
A few label symbols are worth knowing on sight — the dots, and the two you must never override:
The one-dot symbol doesn’t just mean “low” — GINETEX defines it as iron at low temperature without steam. And the crossed-out iron is absolute: GINETEX warns that “irreversible changes must be expected if an iron is used,” so a garment marked that way never goes near a hot soleplate, at any setting.
Why insist on the label over the fabric? Because the fabric you think you have is often a blend. A shirt that looks and feels like cotton may be a cotton-polyester mix, and polyester gives way at a temperature cotton shrugs off — so “it’s a cotton shirt, crank it up” is exactly how a blend gets a shiny scorch. The care label is written by the people who know what’s actually in the cloth; the dots are their instruction, not a suggestion. That is precisely why GINETEX ties the ceiling to the label and not to your eyes.
If you are unsure of a shirt, Downy’s advice is the safe default: start on a low setting and increase it until the wrinkles respond, rather than opening on high heat and scorching the cloth.
Iron the shirt, step by step
The order below is one sensible sequence built on the small-zones-first principle. Two things before the first pass: work from a damp shirt — iron a newly washed one while it’s still slightly damp, or spritz a dry one with water, which Eton notes presses smoother and faster — and iron only clean shirts, since Downy warns that pressing over an existing stain can set it permanently.
1. Collar
Unfold the collar flat and iron the underside first, working from the points inward toward the collar stand. Then flip it and finish the top. Starting underneath means any tiny pucker that appears gets pressed out of sight on the side nobody sees, and working from the points inward — rather than along the collar — keeps the tips neat. Don’t press a hard fold into the collar stand; the collar should roll, not crease flat.
2. Cuffs
Unbutton the cuffs and lay them flat. Iron the inside first, then the outside, and press around the buttons rather than straight over them.
3. Sleeves
Sleeves are where a careless press shows most, because a hard crease down the top of a sleeve is hard to undo. Lay each sleeve flat, line up the seam, and position it a few millimetres over the edge of the board so the soleplate never reaches the fold — that’s what stops you ironing an unwanted crease line into it. Smooth from the shoulder seam down toward the cuff in long passes. (This is the one step where Eton and Downy differ on timing — Eton saves the sleeves for last; do them here or last, your choice, as long as the big panels come after the collar and cuffs.)
4. Yoke and shoulders
Drape the shoulder area — the yoke — over the rounded end of the board and work the iron across it, turning the shirt to reach each shoulder in turn. From here on, on cotton and linen, plenty of steam earns its keep, since steam works best on the thicker fabrics (Rowenta).
5. Front panels and placket
Work each front panel from the side toward the centre, and use the tip of the iron to press around and between the buttons rather than dragging the full soleplate over them. Take the placket — the buttoned strip down the front — slowly, pressing the fabric on either side of each button so the placket lies flat and the buttons sit square; this is the part on show all day, so it’s worth the extra minute.
6. Back
Drape the back over the board in two passes, smoothing from the yoke downward.
7. Finish
Hang the shirt and button the top button straight away so the collar holds its shape, let it cool on the hanger, then turn off and unplug the iron.
Steam or dry?
Steam works best on thick fabrics — cotton, linen and wool (Rowenta). Dry-iron silk and satin, which can develop water spots, and never add steam to a garment whose label shows the one-dot symbol, which GINETEX defines as iron without steam.
When it goes sideways
Even with the right order and heat, a couple of things go wrong often enough to be worth a plan. Here are three quick fixes for the usual ironing mishaps, each of which takes seconds once you know the move rather than re-doing the whole shirt:
- A crease in the wrong place. Don’t try to press it out dry — re-dampen the area with a spritz of water and iron it again.
- Shine on dark cotton. Iron the garment inside out, keep the iron moving, and lay a pressing cloth between the soleplate and the fabric (Rowenta).
- A delicate you’re nervous about. Drop to the low one-dot setting, use little or no steam, don’t hold the iron in one place, and use a pressing cloth — Rowenta’s protocol for silk, satin, nylon and lace.
Iron safety: burns and scalds
The soleplate runs between 120°C and 210°C — hot enough to cause a burn — so the safety here is not optional.
- Burn vs scald: the hot soleplate causes a dry-heat burn; steam causes a wet-heat scald that can injure deeper tissue while the surface looks only mildly damaged (NHS inform; Healthline). The longer the contact, the worse the injury — so keep fingers clear of the steam vent and the burst-steam button.
- First aid: cool a burn under cool — not cold — running water (the Red Cross says 5–20 minutes; Mayo Clinic about 10). Do not use ice, which can further damage the skin, and do not apply creams or ointments (Healthline).
- Match the cloth to the dot band: keep polyester, rayon and wool blends on the medium two-dot setting and silk, satin, nylon and lace on the low one-dot setting (Rowenta); iron dark cotton inside out; and press carefully around buttons.
The bottom line
Two rules carry the whole job. Order: small fixed zones first — collar, cuffs — then the big panels, so nothing you press later undoes earlier work. Heat: set it from the care-label dots, never from a guess about the fabric, and treat a crossed-out iron as final. Everything else — damp the shirt, steam the thick stuff, dry-iron the silk, hang it the moment you finish — is detail in service of those two.
One boundary worth stating: this is iron heat. For the wash temperature that gets a shirt clean in the first place, that is a different number on a different symbol — see our laundry temperature guide.
Keep reading
- Laundry temperature guide — the wash temperature that gets a shirt clean, the companion to this iron-heat guide.
- How to wash cotton — getting a cotton shirt clean and crease-ready before it reaches the board.
- How to wash polyester — caring for the synthetics that need the cooler iron setting.
- How to wash silk without ruining it — the delicate that you dry-iron on low.
- How to remove set-in stains — deal with the stain before you iron, because heat sets it permanently.