Disclosure: Some product links are affiliate links; we may earn a commission if you buy through them.
Protocol
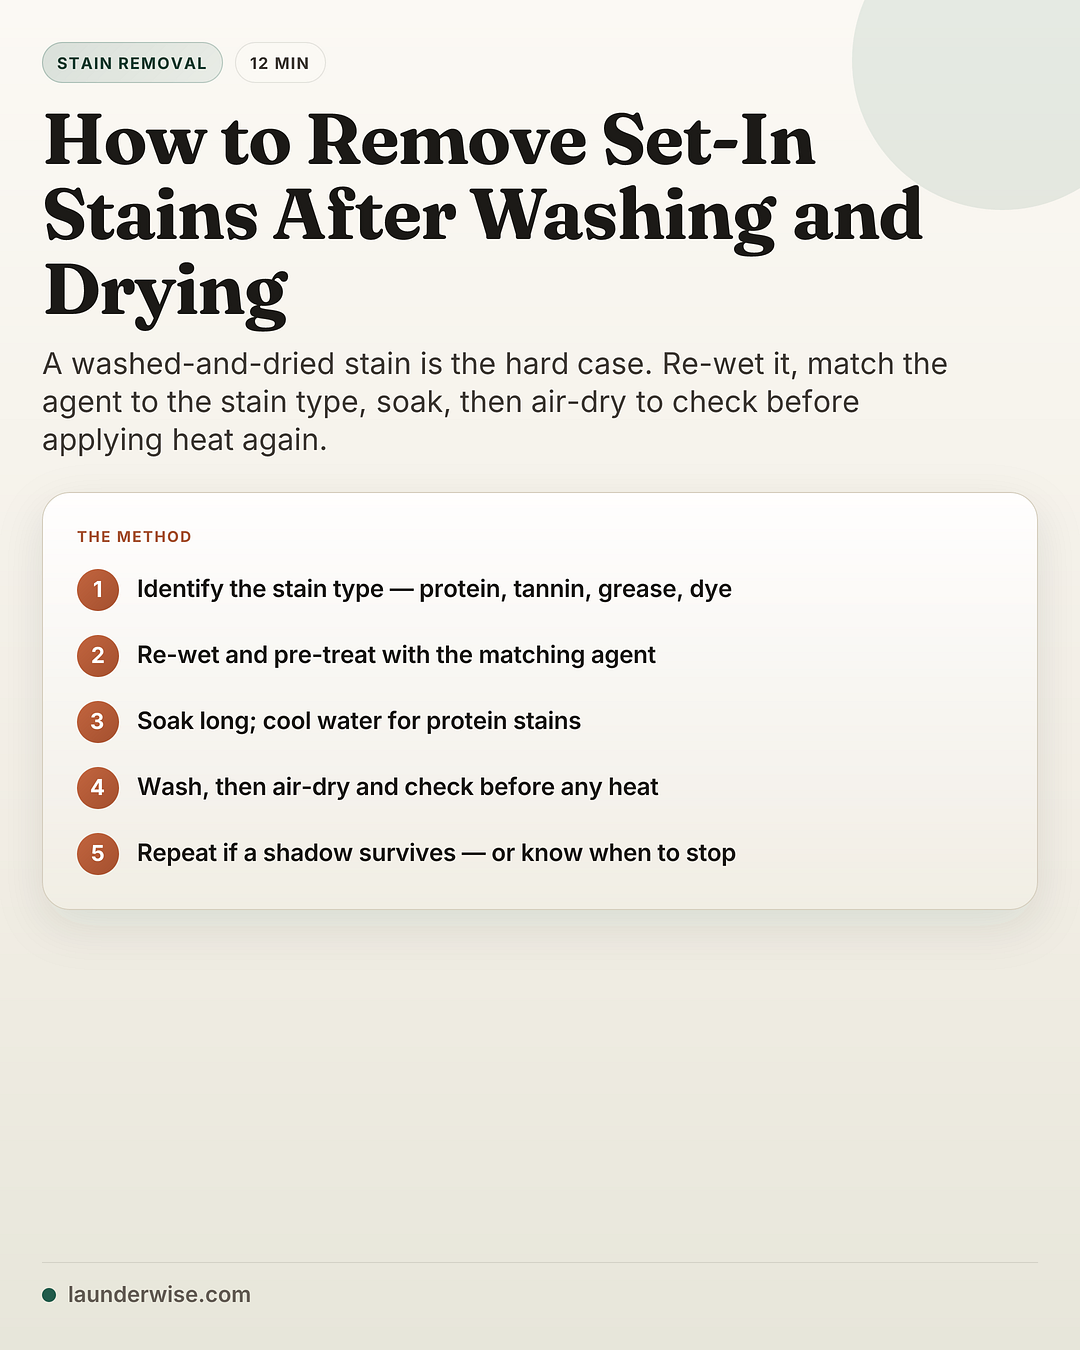
Method steps
- Identify the likely stain typeWork out which family the stain belongs to, because that decides the agent: protein (blood, sweat, egg, dairy), tannin/organic (wine, coffee, tea, fruit, grass), grease/oil, or dye/ink. If you can't tell, start cool with an enzyme detergent, then move to an oxygen-bleach soak only if the label and colourfast test allow it.
- Re-wet the stainLoosen the set-in residue with water — cool water for protein stains, and water no warmer than the care label allows for the rest. Work from the back of the fabric to push the stain out the way it came, and blot rather than rub, which only grinds it deeper (Whirlpool).
- Pre-treat with the right agent for that typeProtein: rub in an enzyme/bio detergent and leave it. Tannin/organic: dissolve oxygen bleach and use it as a soak if the label allows. Grease/oil: work in dish soap or a degreaser. Dye/ink: use a dedicated remover. Spot-test bleach products on a hidden seam first if the fabric is coloured (Persil).
- Soak — longer than you would a fresh stainSet-in stains need time. Depending on the product and the fabric, that usually means from about 30 minutes to several hours, and longer only if the product label explicitly allows it (American Cleaning Institute; product directions). Use an oxygen-bleach soak for tannin and general grime; keep protein stains in cool water only.
- Gently agitate, then launderWork the treated area against itself, then wash on the warmest cycle the care label allows for that stain family. Some grease and tannin treatments use warm water, but never exceed the label, and keep protein stains cool. Add an enzyme detergent or an oxygen-bleach booster only when the product label allows it.
- Air-dry and inspect under a bright lightThis is the rule that saves the garment: air-dry it and check the stain is completely gone under good light before it goes anywhere near a dryer or iron. Heat can set whatever is left and make the next round much harder (Clorox; Tide).
- Repeat if a shadow survives — or stopIf a faint mark remains, repeat the same treatment; repeating beats a longer or stronger bleach soak, which can yellow white fabric (Clorox), while harsher treatment can damage the fabric if it goes past the label. But know when to stop: if several label-safe rounds make no difference, pushing harder will damage the garment before it lifts the stain.
Yes — sometimes. For a washed-and-dried stain, re-wet it, match the agent — enzyme for protein, oxygen-bleach soak for tannin, dish soap for grease — soak, wash, then air-dry and check before heat. Repeat only while it fades; some heat-set stains may not fully leave.
A stain you’ve already washed and tumble-dried is the hardest version of the problem, because the dryer’s heat can set the remaining stain into the fabric (Clorox (external link)). It’s not always hopeless, but it changes the approach: you have to re-open the stain, match the treatment to what the stain actually is, and give it time. This is the method, and an honest account of when it won’t work.
What you’ll need
The trick is using the right agent for the stain type, not the strongest one you own. Most set-in stains fall to one of three:
An enzyme (bio) laundry detergent — for protein stains (blood, sweat, egg, dairy)
Oxygen bleach (sodium percarbonate) — a colour-safer soak for tannin and general grime
Dish soap — for grease and oil
A basin, white cloths and a bright lamp — for long soaks and inspecting the result
For many set-in tannin stains and everyday grime, an oxygen-bleach soak is a useful chlorine-free option when the care label and colourfast test allow it.
A good enzyme (bio) detergent↗ handles protein stains. Use oxygen-bleach products only within their label directions, and spot-test coloured fabric first.
Why drying sets a stain
Heat can turn a removable stain into a much harder one: a hot dryer is especially risky, and hot water and ironing can set some stains too. Different stains set for different reasons, so keep the mechanism practical: protein stains stay cool, grease and tannin treatments may use warmer water only when the label allows, and the dryer waits until inspection is clean. That’s why a washed-and-dried stain is the hard case, and why the major stain guides agree: never put heat near a stain until you’ve confirmed it’s gone (Tide (external link); Whirlpool (external link)).
Set-in stain triage table
Before you soak anything, decide whether you are looking at a removable stain, a heat-set stain that is still improving, or permanent fabric damage. This is the difference between a useful second round and ruining the garment.
| Symptom / problem | Likely cause | First test | What to do | Stop if |
|---|---|---|---|---|
| Mark fades a little after one safe round | Stain residue still lifting | Compare wet and dry under a bright lamp | Repeat the same matched treatment | The fibre starts to thin or fuzz |
| No change after two or three safe rounds | Heat-set or oxidised residue | Re-treat one small edge only | Stop or take it to a cleaner; harsher DIY is low-value | The test edge does not lighten at all |
| Pale patch where colour used to be | Dye loss, bleach damage or abrasion | Hidden seam shows the fabric dye can lift | Stop treating; there is no stain left to remove | Always; this is fabric damage |
| Brown/yellow old shadow | Oxidised organic stain | Oxygen-bleach spot test if label allows | Short repeated oxygen soaks, then air-dry and inspect | The label forbids bleach or colour transfers |
| Protein stain washed hot or tumble-dried | Cooked-in blood, sweat, egg or dairy | Cool enzyme pre-treat on a small edge | Repeat cool enzyme rounds only | Warm water was already used and no lift |
| Silk, wool, leather or dry-clean-only tag | Fibre cannot take normal recovery | Check label and hidden seam | Blot only and use a professional cleaner | Do not continue with home soaking |
Use a two-round rule for anything you care about. Round one proves whether the method is compatible with the fabric: no dye transfer, no fuzzing, no whitening, and at least some visible lift. Round two tells you whether the treatment is still worth repeating. If the second round fades the stain again, keep going with the same label-safe method and air-dry between attempts. If the second round looks identical to the first, more force is usually just damage in slow motion.
Also separate a stain from fabric damage before you blame the cleaner. A stain sits on or inside the fibre and may lighten when treated. Dye loss is a missing colour patch; bleach damage is usually paler than the original fabric; scorch looks yellow, brown or shiny; abrasion looks fuzzy or thinned. None of those respond to stain remover because the original material has changed. The right move is to stop, mend, dye, cover, or retire the garment rather than keep soaking it.
For an unknown set-in stain, start with the least irreversible route: cool water, enzyme detergent, short dwell, rinse, then an oxygen-bleach soak only if the care label and colourfast test allow it. Do not begin with heat, chlorine bleach or solvent, because each can narrow your later options.
Match the agent to the stain type
This is the step every generic guide skips. Treat the stain by its family, and follow the link for the full fresh-stain method:
| Stain type | Examples | Right agent | Water | Deep dive |
|---|---|---|---|---|
| Protein | Blood, sweat, egg, dairy | Enzyme / bio detergent | Cool only | Blood · Sweat |
| Tannin / organic | Wine, coffee, tea, fruit, grass | Oxygen-bleach soak | Warm (label) | Wine · Coffee · Berry · Grass |
| Grease / oil | Cooking oil, butter, lotion | Dish soap / degreaser | Warm/hot (label) | Grease & oil |
| Mixed food | Chocolate, chocolate milk | Detergent first | Cold first, then label-safe | Chocolate |
| Dye / ink | Pen, marker, dye transfer | Dedicated remover | Per product | Ink |
| Combination / makeup | Lipstick, foundation, food | Dish soap + oxygen soak | Warm (label) | Makeup |
| Unknown | Can’t tell | Enzyme + oxygen-bleach soak | Cool, then warm | — |
When you genuinely can’t identify the stain, default to the cool end: enzyme detergent first, then move to an oxygen-bleach soak only if the care label and colourfast test allow it. You can always warm up later if the label allows, but hot water can set a protein stain and make it far harder to remove.
The rescue method, step by step
1. Identify the likely stain type
Use the table above. The whole method hinges on getting this right — the wrong agent (hot water on blood, chlorine on wool) can make the stain harder to treat or damage the fabric itself.
2. Re-wet the stain
Loosen the set residue with water — cool for protein, and no warmer than the care label allows for the rest. Work from the back of the fabric and blot, don’t rub, which only grinds the stain deeper (Whirlpool (external link)).
3. Pre-treat with the right agent
Rub an enzyme detergent into a protein stain; use an oxygen-bleach soak for tannin; work dish soap into grease; use a dedicated remover for ink. On coloured fabric, spot-test the treatment on a hidden seam first (Persil (external link)).
4. Soak — longer than you would a fresh stain
Set-in stains need time. Depending on the product and fabric, that usually ranges from about 30 minutes to several hours, and longer only if the product label explicitly allows it (American Cleaning Institute (external link), and the product’s directions). Keep protein stains in cool water; don’t give delicate or non-colourfast fabrics a long soak.
5. Gently agitate, then launder
Work the treated area against itself, then wash on the warmest cycle the care label allows for that stain family — some grease and tannin treatments use warm water, but never exceed the label, and keep protein loads cool. A tough stain can take an enzyme detergent or oxygen-bleach booster in the wash too when the product label allows it.
6. Air-dry and inspect under a bright light
The rule that saves the garment: air-dry, then check under good light that the stain is completely gone before it sees a dryer or iron. Heat can set whatever remains and make the next round harder (Clorox (external link)).
7. Repeat if a shadow survives — or stop
If a faint mark remains, repeat the same treatment — repeating beats a longer or harsher bleach soak, which can yellow white fabric, while harsher treatment can damage the fabric if it goes past the label. But if several label-safe rounds make no difference, stop: you’ll damage the garment before the stain lifts.
Cool water for protein stains
Blood, sweat, egg and dairy are protein stains. Hot water can set protein residue and make it far harder to remove, so treat and wash them cool — an enzyme (bio) detergent does the lifting that heat can’t.
Warmth can help some stains
Some grease, oil and tannin treatments use warm water — but only up to the care-label maximum. The washtub symbol’s number is a ceiling, never a target.
Fabric, colour and bleach safety
Before you reach for bleach, check the care label for the fibre and run a colourfast test on a hidden seam. Oxygen bleach is colour-safer than chlorine bleach, but it is still a bleach product and only belongs where the care label and colourfast test allow it. Chlorine bleach is harsher and off-limits for many fabrics.
- Never mix chlorine bleach with vinegar, citric acid or any acid, or with ammonia. Bleach plus acid releases chlorine gas and bleach plus ammonia releases chloramine — both can seriously injure your lungs (CDC; Washington State DOH). Use one product at a time and rinse between treatments.
- Never use chlorine bleach on wool, silk, mohair, leather, spandex/elastane, or non-colourfast fabrics — it damages the fibre or strips the colour (Clorox). Read the care label's bleach triangle first.
- Spot-test oxygen bleach on a hidden seam of coloured fabric before treating the stain; never apply undiluted chlorine bleach directly, and follow the product label for any other bleach.
- Stop when several rounds stop helping. Repeated bleaching and scrubbing can weaken fibres or fade colour — at that point the garment is what you're now risking.
When a set-in stain won’t come out
Some stains are beyond practical home recovery, and recognising that protects the garment. A protein stain exposed to hot water or dryer heat becomes far harder to remove, and old oxidised stains or stains on heat-sensitive fabric give you fewer safe treatment options. Watch for the signs to stop: thinning or weakening fibre, fading colour, or no change at all after several label-safe rounds. And learn to tell a stain from permanent fabric damage — heat scorch, dye loss or a bleach spot won’t respond to stain treatment, because the material itself has changed.
(This guide covers washable garments. Upholstery, carpet and mattresses can’t be soaked or machine-washed, so they follow different rules.)
Track progress before repeating
Set-in stain work is slow enough that your eye can fool you. Before round two, take one quick photo in daylight or mark the edge of the stain with a removable thread or safety pin outside the stained area. After each label-safe round, air-dry fully and compare under the same light. If the edge shrinks or the centre fades, repeat the same method. If the outline is identical after two rounds, change the diagnosis or stop. This prevents the common mistake: escalating to more heat, more bleach or harder scrubbing when the treatment is no longer moving stain and is now only wearing out fabric.
How to stop stains setting next time
The best fix is not needing one: check clothes for marks before they go in the dryer, and treat spills while they’re fresh — a fresh stain is far easier than a set one. Our per-stain guides above each cover the fast fresh-stain method — including the combination baby-food stain, which mixes protein and dye in one mark. For stains that leave dye rather than food or body residue, start with the hair dye stain guide before reaching for bleach. For getting the wash itself right, see how much laundry detergent to use and the laundry temperature guide.