Disclosure: Some product links are affiliate links; we may earn a commission if you buy through them.
Protocol
Method steps
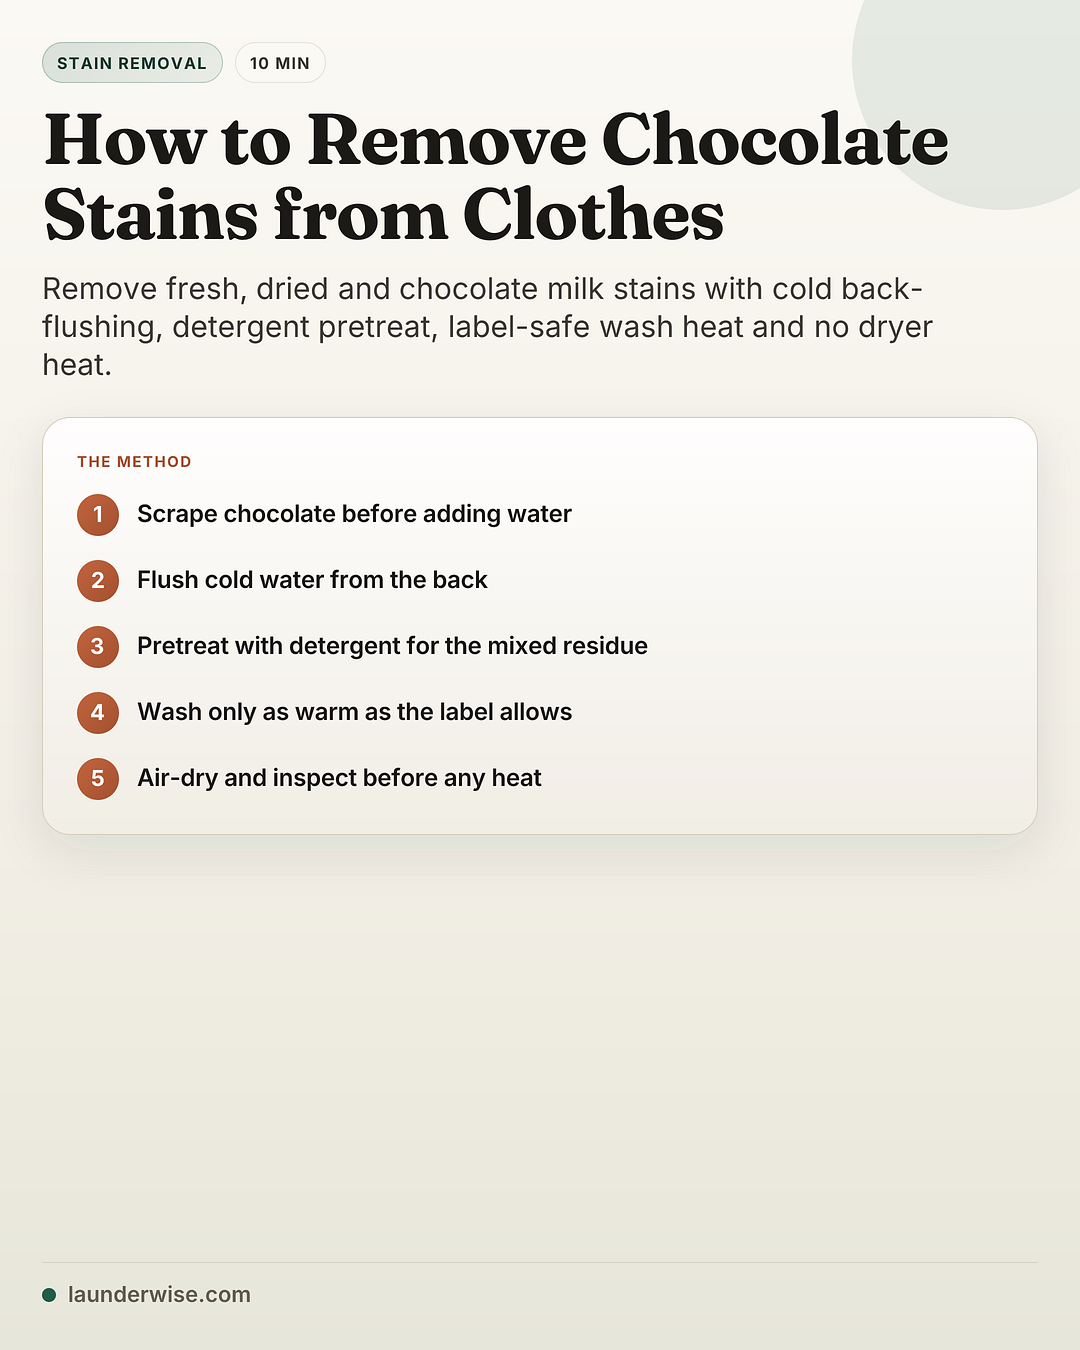
- Scrape excess chocolateLift solid chocolate with a spoon or dull edge without rubbing it wider.
- Flush cold from the backRun cold water through the reverse side of the fabric before detergent treatment.
- Pretreat with detergentWork liquid detergent into the damp mark so the oily and protein residue is treated before washing.
- Wash by labelUse only the warmest wash and bleach options allowed by the garment care label.
- Check before dryingAir-dry and inspect; repeat while damp if any chocolate residue or oily shadow remains.
To remove chocolate from clothes, scrape off the excess, flush cold water through the back of the fabric, pretreat with detergent, then wash only as warm as the care label allows. Air-dry and inspect before any dryer heat, because leftover chocolate can leave both a dark mark and an oily shadow.
Quick answer
Remove chocolate stains by lifting solid chocolate first, rinsing the back of the stain with cold water, pretreating with liquid detergent, and washing within the care-label limit. Do not start with hot water. The warm or hot wash, if the label allows one, comes after scraping, cold back-flushing and pretreatment. Keep the garment out of the dryer until no brown mark or oily shadow remains.
What you’ll need
Start with basic supplies. The strongest product is not automatically the safest one, especially on colours, stretch fibres and delicates.
A spoon or dull knife — to lift chocolate without grinding it in
Cold water — for the first back-flush before detergent
Liquid laundry detergent — the default pretreat for washable fabric
Oxygen or colour-safe stain remover — only for label-safe escalation
For everyday washable clothes, a standard liquid laundry detergent↗ is the useful first product. A pre-wash spray can help when the garment cannot go straight into the machine; use a small amount of pre-wash stain remover↗ inside the product directions, then rinse or wash before the mark dries again. If your normal wash has been leaving residue, check the detergent dosing guide before adding extra product to the stain.
Chocolate stain decision table
Use the table before you choose heat or bleach. The route changes when the stain is dried, dairy-heavy, bleach-safe white, coloured or delicate.
| Situation | First move | Pretreat route | Wash route | Stop if |
|---|---|---|---|---|
| Fresh soft chocolate | Lift with a spoon; do not rub | Cold back-flush, then liquid detergent | Warmest care-label-safe wash | Brown residue remains before drying |
| Dried chocolate | Loosen gently, then re-wet from the back | Detergent; repeat while damp | Label-safe wash after pretreat | Fabric roughens or dye transfers |
| Chocolate milk or ice cream | Blot liquid, cold back-flush | Detergent; enzyme route only if fabric allows | Label-safe wash and extra rinse if sticky | Sour odour or stickiness remains |
| Melted chocolate in a pocket | Remove chunks from seams first | Treat the pocket and transferred spots separately | Wash inside out if label allows | Residue remains in pocket corners |
| White sturdy cotton | Cold route first | Detergent, then oxygen bleach or chlorine bleach only if label-safe | Warmest label-safe wash | Label says do not bleach |
| Colour or white with spandex | Cold route first | Colour-safe product only after a hidden test | Label-safe wash, air-dry inspection | Hidden test lightens or stretches oddly |
| Wool, silk, rayon or dry-clean-only | Lift and blot only | Mild label-safe route, not a hard enzyme soak | Professional cleaning if label restricts washing | Label forbids washing or wet cleaning |
| Upholstery or carpet | Lift solids, blot, avoid soaking | Surface-specific cleaner after hidden test | No machine wash | Padding or backing starts getting wet |
Step by step: washable clothes
1. Lift the chocolate before water
Use a spoon, dull knife or card edge to lift chocolate from the surface. Work from the outside toward the centre. If you rub, the cocoa colour and oily film spread into a wider patch before detergent has a chance to work.
If the chocolate has hardened, loosen the surface slowly rather than gouging at the fibres. A little patience here prevents a stain problem from turning into a snagged knit or abraded T-shirt.
2. Flush cold water from the back
Turn the fabric inside out and run cold water through the reverse side of the stain. Persil and Tide both use the back-of-fabric cold rinse route in their chocolate guidance. The direction matters: water from the back pushes residue out the way it entered instead of driving it deeper through the face of the fabric.
Cold first, not cold forever
The first rinse should be cold. Later, after detergent pretreatment, the wash temperature can move up only as far as the care label allows.
3. Pretreat with detergent
Work liquid detergent into the damp mark with your fingers or a soft brush. Keep the motion small and controlled. Chocolate can leave oil-like residue as well as dark particles, so plain water alone is usually not enough.
Purex explains the enzyme logic behind many stain removers: different enzyme classes can target sugars or starches, fats and proteins that may be present in chocolate and dairy chocolate. That does not mean every detergent has every enzyme, or that enzymes belong on every fibre. It means detergent pretreatment deserves a real step before the wash.
4. Wash by the garment label
After the cold flush and detergent pretreat, wash within the garment’s care label. Maytag separates cool flushing from washing in the hottest water safe for the garment, which is the useful reconciliation of the hot-versus-cold advice: cold first, then label-safe warmth only after treatment. Use the laundry temperature guide if you need to translate the label into a real wash choice.
If you are uncertain about symbols, check them before escalating:
The symbol is the ceiling. A stain method does not override a no-wash, no-bleach, no-tumble-dry or professional-cleaning instruction.
5. Air-dry and inspect
Do not tumble-dry yet. Air-dry enough to inspect the fabric in good light. If you still see a brown edge, grey oil shadow or sticky residue, repeat detergent pretreatment while the item is still workable. Purex and Clorox both include the same basic inspection rule: check before dryer heat and repeat if needed.
Why chocolate is a mixed stain
Chocolate is not just a water-soluble mark. Persil describes it as both protein-based and oil-based, and Purex breaks the enzyme story into sugars or starches, fats and proteins. In practical laundry terms, that means three things.
First, scrape before flushing. If you send water through a lump of chocolate, you spread the bulk residue before removing it.
Second, detergent pretreatment matters. Detergent is the bridge between the dark visible residue and the oily shadow that can remain after the colour looks lighter.
Third, heat has to wait. Warm wash water can be useful after pretreatment when the label allows it, but hot water is the wrong first reflex on a fresh chocolate mark.
This is also why the article is separate from the general set-in stain guide. A set-in guide can tell you how to re-treat old marks, but chocolate needs the mixed-stain route before you decide whether the stain has become truly set.
Dried chocolate, chocolate milk and pocket melts
Dried chocolate
Start by removing what is sitting on top. Do not sand the fabric with a knife or brush. Once the surface layer is gone, re-wet the stain from the back with cold water and work in detergent. Dried chocolate usually needs repeats because the stain has had time to bind to the fibres and leave an oily halo.
If the garment is white, sturdy and bleach-safe, oxygen bleach may be a useful second round. If it is coloured, stretchy, wool, silk or labelled no bleach, that same escalation can create a bigger problem than the chocolate.
Chocolate milk, cocoa and ice cream
Dairy chocolate stains add another practical problem: liquid spreads fast and can leave odour or stickiness. Blot liquid first, then cold back-flush. Treat the mark with detergent and rinse well enough that the fabric no longer feels tacky before washing.
If sour odour remains after a label-safe wash, do not jump to dryer heat. Repeat detergent treatment or move to a broader odour-removal route while the item is still damp enough to work on.
Melted chocolate in a pocket
Pocket melts are not one stain; they are a source plus transfers. Turn the pocket inside out, remove crumbs and melted residue from seams, then treat the pocket and any transferred spots separately. If you skip the pocket corners, the next wash can redistribute chocolate onto cleaner fabric.
Bleach and colour-safe escalation
Bleach is not the first chocolate-stain move. Detergent is. Clorox separates white bleach-safe items from colours and white items with spandex; GINETEX care symbols explain why that distinction matters. A plain white cotton towel may allow a stronger bleach branch. A white T-shirt with stretch, a coloured school uniform, wool, silk or a no-bleach label does not.
For most washable fabrics that pass a hidden test, oxygen or colour-safe stain remover is the more controlled escalation after detergent. Follow the product label and the garment label together. If either one says stop, stop.
- Do not treat bleach as a shortcut. Chocolate needs scraping and detergent pretreatment before any label-safe bleach branch.
- Do not override stretch fibres or colour. White with spandex belongs with the cautious branch, not the plain bleach-safe white branch.
Delicates, dry-clean-only garments and upholstery
Maytag routes wool, silk, linen, rayon and acrylic differently from everyday cotton or polyester, using mild detergent rather than the standard enzyme-heavy path. Treat that as a warning against forcing one method onto every fibre.
For washable silk, wool or rayon, lift the surface chocolate, blot, and follow the garment’s own fibre guide before any soak. The silk washing guide and wool sweater guide are better starting points than a stain-removal escalation table. For dry-clean-only garments, stop before soaking and use a professional cleaner.
For upholstery and carpet, do not flood the padding. Lift chocolate, blot, use a small cold-water sponge only if the material allows it, and test any cleaner on a hidden area. If the chocolate landed on carpet, the red wine on carpet route is a useful model for avoiding overwetting, even though the stain chemistry is different.
Mistakes that make chocolate stains worse
Most chocolate-stain failures come from sequence, not from missing a special product.
- Rubbing first. Lift chocolate before water or detergent.
- Starting with hot water. Cold back-flush comes before any warm wash.
- Skipping detergent. Chocolate can leave oily residue that plain water does not handle well.
- Drying too early. Dryer heat can make the remaining shadow harder to shift.
- Using bleach on the wrong item. Respect the bleach symbol, colour, spandex and fibre.
- Treating delicates like cotton. Fibre damage is harder to repair than a faint mark.
Where this fits in your stain plan
Use this chocolate route inside the broader stain-removal library for cocoa, chocolate milk, ice cream and melted chocolate on washable fabric. Use the grease and oil guide for pure butter, cooking oil or mechanical grease, and the makeup and lipstick guide for oil-plus-pigment cosmetics. If the chocolate has already been washed, dried or ignored for days, the set-in stain guide can help you decide when another round is worth the fabric risk.
The short version stays deliberately plain: scrape, cold back-flush, detergent, label-safe wash, air-dry inspection. That route is less dramatic than boiling water, bleach-first or miracle hacks, but it gives the stain a fair chance without asking the garment to absorb the cost of bad chemistry.