Disclosure: Some product links are affiliate links; we may earn a commission if you buy through them.
Protocol
Method steps
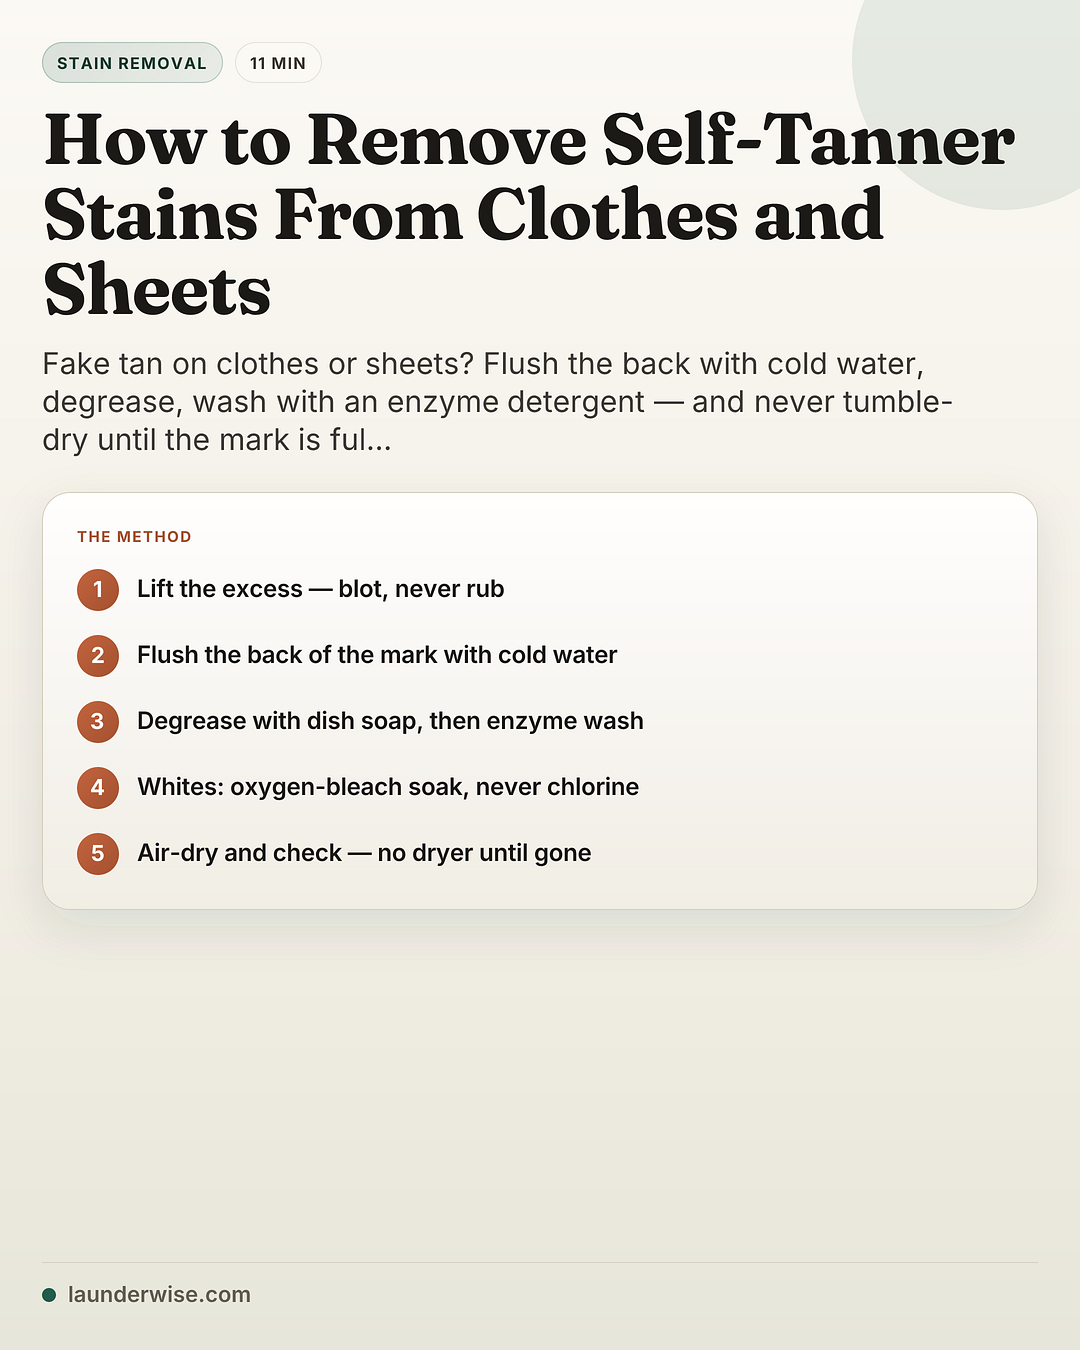
- Lift the excess and pick your pathScrape surface product off gently with the rounded end of a spoon and blot — don't rub. A fresh transfer is the easy path; a mark that has dried, been washed in, or gone through the dryer is a recovery attempt with honest odds, handled like other set-in stains.
- Flush the back with cold running waterTurn the fabric over and run cold water through the back of the stain so the product is pushed out of the fibers, not deeper in. Work from the outer edges inward and keep blotting rather than rubbing.
- Degrease the oily carrierMost self-tanners are oil-based products with added dye, and both parts need addressing. Blot the mark with warm water and liquid dish soap to cut the oily carrier before any machine wash.
- Pretreat, then wash with an enzyme detergentDab a soapy pretreat over the mark from the outer edges inward, then machine wash with a biological (enzyme) detergent — warm only if the care label allows, with a color-safe oxygen brightener in the load.
- Escalate with an oxygen-bleach soakWhites: mix an oxygen-based bleach per its package instructions in cool water and soak up to eight hours. Colors: spot-test on a hidden seam for about 15 minutes first, then use a color-safe oxygen product — an overnight soak per package directions is the stubborn-mark option. Never chlorine bleach.
- Air-dry, inspect, repeat — keep heat awayAir-dry and check the mark in good light. If a shadow survives, repeat the pretreat-wash-soak loop. Do not tumble-dry or hang the item in the sun until the stain is fully removed — heat will set it.
Treat a self-tanner mark in four moves, all before any heat: flush the back with cold water, degrease with dish soap, wash with an enzyme detergent, and escalate whites with an oxygen-bleach soak. Never tumble-dry or sun-dry until it’s completely gone — heat sets the stain — and know that a deeply set mark may not fully release.
Self-tanner is a strange stain because its star ingredient isn’t a pigment at all. Dihydroxyacetone (DHA) colors skin via a Maillard reaction — the sugar’s carbonyl group reacts with free amino groups of amino acids in the skin’s outer layer, forming brown polymers called melanoidins (Resnick et al., J Clin Aesthet Dermatol (external link)). That chemistry is measured on skin, not on textiles — but it tells you what’s in the bottle: a reactive browning sugar riding in an oil-based carrier with an added cosmetic dye, and both of those components must be addressed when treating a mark (Celsious (external link)). The dye and the oil are laundry problems with laundry answers; what you must not do is bake any of it in. Every laundry source on this page agrees on the hard rule: no dryer, no sunshine, no iron until the mark is gone. Notably, the tanner brands themselves only publish removal guidance for skin — eraser foams and warm showers — not for fabric (Bondi Sands (external link)), which is exactly why a laundry method like this one exists.
- Never mix any bleach with vinegar or other acids — the combination can release chlorine gas (CDC). Bleach plus ammonia produces toxic chloramine gases; the official instruction is not to mix bleach with ammonia, acids, or other cleaners (Washington State DOH).
- Do not use chlorine bleach on a self-tanner mark: it is harsh on fabrics and can cause premature fiber breakage or holes (Celsious). The escalation on this page is oxygen-based bleach.
- Do not tumble-dry the garment or hang it in the sun until the stain is fully removed — the heat will cause it to set (Cleanipedia).
- Patch-test any product on a hidden seam first, and check the care label before every step.
First, is it fresh — or already set?
| Your situation | Path | Honest odds | Stop / hand off if |
|---|---|---|---|
| Fresh transfer, still damp or recent | Steps 2-6 below, the full cold-flush method | The standard sourced path — household supplies | The fabric is dry-clean-only → professional |
| Dried on, but never washed or dried by machine | Steps 2-6, expect more than one cycle | Expect repeat loops; no promises | Two full loops with no progress → oxygen soak, then reassess |
| Already washed in, or been through the dryer | Treat as a set-in stain: oxygen soak + the set-in stain method | Recovery attempt — deeply set marks may not fully release (Celsious) | The garment matters more than the experiment → professional |
| On a delicate, silk, wool or non-washable piece | Glycerine dabbed on small areas, or straight to a professional (Cleanipedia) | Depends on the fabric | Any doubt about the fiber → professional |
If the mark turns out to be bronzer makeup rather than developed tanner — a smear from a compact or a drop of liquid bronzer — use the makeup and lipstick stain guide instead: that’s a pigment-and-oil problem with its own method.
What you’ll need
Most fresh marks need nothing you don’t already own — cold water, liquid dish soap and your regular enzyme detergent cover steps 2-4. For the pretreat you can use a dab of detergent or a universal stain remover spray↗; for the escalation soak you’ll want a color-safe oxygen bleach↗ mixed per its package instructions.
Care label first — wash temperature limits and dry-clean-only warnings decide your path
A spoon and white cloths — lift excess, blot, never rub
Dish soap + enzyme detergent — the degrease and the wash
Oxygen-based bleach — the whites escalation; patch-test colors on a hidden seam first
Step by step: the cold-first method
1. Lift the excess and pick your path
Scrape any surface product off gently — the rounded end of a spoon works — and blot with a clean cloth. Don’t rub: you’d push tanner deeper and widen the ring. Then be honest about which row of the table above you’re in; a fresh mark and a dryer-baked one are different jobs.
2. Flush the back with cold running water
Turn the fabric inside out and run cold water through the back of the stain, so the product is pushed out of the fibers instead of deeper in (Cleanipedia). Keep the water moving, work from the outer edges of the mark inward, and blot between passes.
3. Degrease the oily carrier
Self-tanners are typically oil-based products with an added dye, and both components must be addressed (Celsious). The oil goes first: blot the mark with warm water and liquid dish soap (Molly Maid), moving to a clean section of cloth as you go.
4. Pretreat, then wash with an enzyme detergent
Dab a soapy pretreat over the mark from the outer edges inward (Cleanipedia), then machine wash with a biological (enzyme) detergent — warm only if the care label allows it, with a color-safe oxygen brightener in the load (Celsious). Check the mark before the load goes anywhere near a dryer.
5. Escalate with an oxygen-bleach soak
For whites, mix an oxygen-based bleach according to its package instructions in cool water and soak the garment for up to eight hours (Cleanipedia), then rewash. For colors, test the product on a small hidden area for about 15 minutes first (Celsious); if the dye holds, a stubborn mark can soak overnight in water with the oxygen product mixed per package directions (Molly Maid). Chlorine bleach stays out of this entirely — fiber damage isn’t a fair trade for a tan mark.
6. Air-dry, inspect, repeat — keep heat away
Air-dry the item and inspect under good light. A faint shadow means another pretreat-wash-soak loop, not a hotter wash. The rule that outranks every other: do not tumble-dry the garment or hang it in the sun until the stain is fully removed — the heat will cause it to set (Cleanipedia).
Which treatment for which fabric
| Fabric / surface | Treatment | Notes |
|---|---|---|
| Cotton, poly, everyday washables | Full method, steps 2-6 | Warm wash only if the label allows |
| Whites | Full method + oxygen soak up to eight hours in cool water | Rewash after the soak; never chlorine |
| Colors | Full method + color-safe oxygen after a 15-minute hidden-seam test | Overnight soak per package directions for stubborn marks |
| Silk, wool, delicates, non-washables | Glycerine dabbed on small areas, or a professional dry cleaner (Cleanipedia) | Skip the soak entirely |
| Sheets and towels | Same as washables; see the bed sheets guide | Keep bedding out of the dryer until the mark is gone |
Carpet: the one hard-surface case worth steps
Scrape up the excess with the rounded end of a spoon, then blot with a solution of two cups of water and one teaspoon of liquid dish soap, working from the outer edges inward (Molly Maid). Mattresses and upholstery are not soak candidates — when blotting isn’t enough there, it’s a professional job.
Do the popular hacks actually work?
Search any fake-tan forum and you’ll meet the same cast: white vinegar, baking soda paste, lemon juice, whitening toothpaste, rubbing alcohol, micellar water, hydrogen peroxide. Here is the honest position of an evidence-first guide: none of the fabric-care sources behind this page document any of those as a self-tanner remover, so we don’t recommend dosing or dwell times for them — inventing numbers is how garments get damaged. That doesn’t mean they’re all useless; it means nobody credible has published a fabric method we can hand you, while the steps above are backed by a detergent manufacturer, two laundry specialists and a tanner brand’s own scope.
Two of the hacks earn a specific caution rather than a shrug. Vinegar’s problem isn’t efficacy — it’s proximity to bleach: mixing bleach with vinegar or other acids can release chlorine gas (CDC), and bleach plus ammonia produces toxic chloramine gases; the official instruction is not to mix bleach with ammonia, acids, or other cleaners (Washington State DOH). If a soak is already running with an oxygen product, nothing else goes in the water. And peroxide enthusiasts should note that the sourced escalation — oxygen-based bleach — is already peroxide chemistry in a form with package directions written for laundry; use that, per its label, instead of improvising dilutions at the sink.
Keep it off the sheets next time
Prevention is cheaper than any soak, and the sourced checklist is short. Per Celsious: let the tan develop for 8 to 12 hours before going to bed, shower before getting between the sheets, keep the bedroom cool, and brush on a barrier powder first. Your product’s own directions take precedence on the develop window — formulas differ — but the logic travels: the longer the product has been on and the less you sweat, the less ends up on the fabric.
If your bedding keeps taking the hit anyway, the bed sheets guide covers the regular wash routine; treat any visible mark with the method above before that routine, and keep the bedding out of the dryer until the mark is gone.
What does not come out
Deeply set self-tanner may not fully release from fabric (Celsious). A mark that dried for days, rode through a wash unnoticed, or — worst case — went through a tumble-dry cycle is exactly the case the sources warn about; from there, every pass of the method above is a recovery attempt with diminishing returns, not a guaranteed fix. Run the set-in stain method, stop when the fabric starts looking tired rather than the stain looking lighter, and weigh whether a professional cleaner — or acceptance — costs less than the garment.
Mistakes that make a tan mark worse
- Heat before the mark is gone. The dryer, a sunny clothesline, an iron — each one can set the stain. Air-dry and inspect between every cycle.
- Chlorine bleach as the big gun. It risks fiber breakage and holes (Celsious), and the sources route whites to oxygen bleach instead.
- Mixing products. Bleach plus vinegar or ammonia releases toxic gases (CDC; Washington State DOH). One product at a time, rinsed between.
- Rubbing a fresh transfer. Rubbing drives tanner deeper and spreads the ring; the method is flush, dab and blot, always from the outer edges inward.
- Skipping the degrease. Washing before cutting the oily carrier lets the machine spread a greasy film — and underdelivers on the dye too.
The honest bottom line
A fresh self-tanner transfer is one of the more forgiving cosmetic stains: cold water from the back, a dish-soap degrease, an enzyme wash, and — for whites — an oxygen soak handle most of it with things already in the house. The discipline is entirely about heat: nothing goes near a dryer, a sunny line or an iron until the fabric is clean, because that is the one mistake the method can’t undo. Lift the excess tonight, run the cold flush before bed, and let the washing machine argue with the rest in the morning — the mark will wait; the dryer won’t forgive.