Disclosure: Some product links are affiliate links; we may earn a commission if you buy through them.
Protocol
Method steps
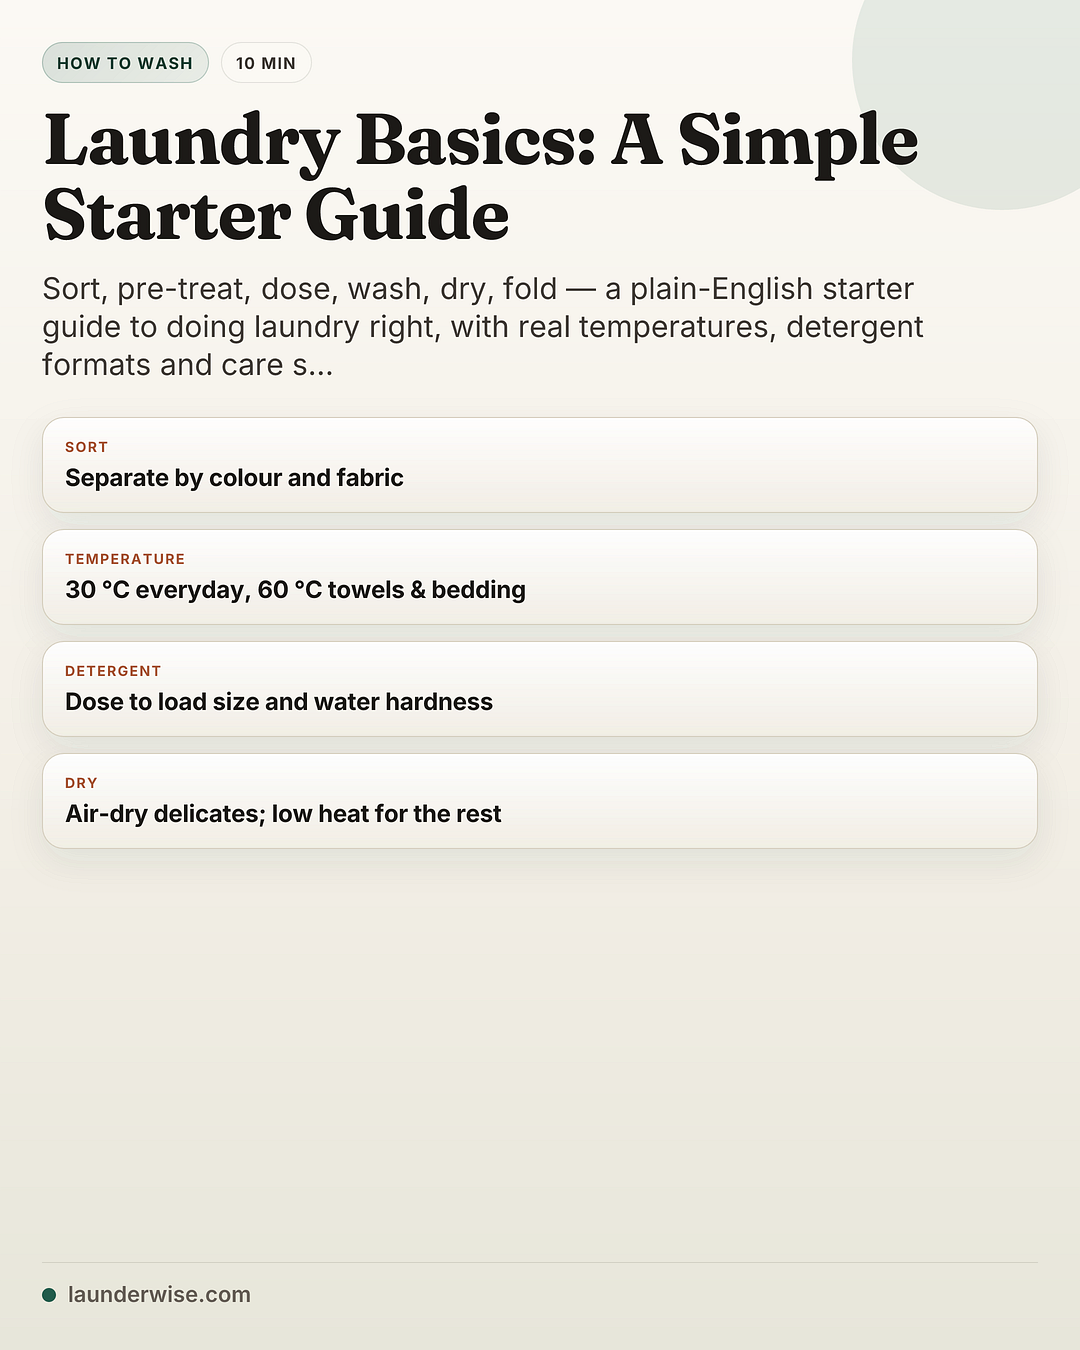
- Sort by colour and fabricSplit laundry into whites, lights, brights and darks so loose dye can't settle on lighter items, then keep lint-shedders (towels, fleece) away from lint-magnets (corduroy, dark cotton).
- Pre-treat visible stainsBlot, flush the back of the fabric with cold water, work in the right remover for that stain and wait a few minutes. Never put heat on a stain you haven't removed — it sets the mark for good.
- Load the drum and check pocketsFill the drum about three-quarters full, empty every pocket, and zip up zips. Cramming the drum leaves clothes poorly rinsed; a half-empty drum wastes water and energy.
- Add detergent the right wayDose liquid or powder to the load and your water hardness — about two tablespoons for a normal load. Drop pods straight into the empty drum before the clothes, never in the dispenser drawer.
- Pick the cycle and temperature by fabricUse 30 °C (86 °F) for everyday clothes, 40 °C (104 °F) for sweaty wear, and 60 °C (140 °F) for towels and bedding. Let the care label's washtub number override your default.
- Clean the lint filter, then dry on low heatClean the dryer lint filter before the load, then tumble on low heat or air-dry. Pull items out while slightly damp to limit creasing.
- Fold or hang and put awayFold or hang clothes straight out of the dryer while they're still warm so wrinkles don't set, then put them away rather than leaving them in a pile.
Good laundry has a fixed order: sort, pre-treat, load without cramming, dose detergent to the load and water, choose cycle and temperature by fabric, then dry gently and fold while warm. Start with 30 °C (86 °F) for everyday clothes, reserve 60 °C (140 °F) for towels and bedding, and let the care label override every default.
The most common laundry mistakes — grey whites, bobbled knits, residue on dark clothes — almost always trace back to one of two errors: skipping the sort, or guessing the detergent dose. Get those right and everything else falls into place. Here is the full sequence, in the order you actually do it.
The beginner flow
Use this as the one-screen version before your first load. The rest of the guide explains the “why” behind each step and links to the deeper stain and fabric guides when a load is not routine.
| Step | Decision to make | Safe beginner default | When to change it |
|---|---|---|---|
| Sort | Colour and fabric | Whites, lights, brights, darks; towels away from lint magnets | New dark items, delicates and heavy soil get separate loads |
| Pre-treat | Visible stains | Cold water from the back, then the stain-specific remover | Grease, blood, dye and wine each need different chemistry |
| Load | Drum fill | About three-quarters full | Bulky bedding/towels need more room |
| Dose | Detergent amount | Lower cap line for a normal load | Hard water, heavy soil or big loads need more |
| Wash | Cycle and temperature | 30 °C (86 °F) everyday; care label max overrides | Towels/bedding/hygiene loads may need 60 °C (140 °F) |
| Dry | Heat and safety | Clean lint filter, dry low or air-dry | Stains and delicates stay out of the dryer |
Sort before you wash
Sorting does two separate jobs, so it helps to think in two passes.
By colour, split your laundry into four piles:
- Whites — white cottons, underwear, socks, T-shirts.
- Lights — pastels, beige, light grey.
- Brights — reds, oranges, bright blues and anything that might bleed.
- Darks — black, navy, deep green, dark grey.
Deep and new colours release loose dye in the wash, and that dye settles on anything lighter sharing the water — which is how a white wash slowly turns grey. Keeping the four piles separate stops it.
By fabric, separate the lint-shedders from the lint-magnets. Towels, fleece blankets and flannel shed fibres; corduroy, velvet, synthetics and dark cotton attract them. Wash a black fleece with a bath towel and it comes out covered in fuzz. Heavily soiled or delicate items also belong in their own loads so you can match the cycle to them.
Pre-treat stains before they go in
A washing machine rinses dirt; it does not lift set stains. Treat anything visible before the wash, because once a stained item goes through a hot cycle or a dryer the heat sets the mark permanently. As a rule: blot (never rub), flush the back of the fabric with cold water, then work in the right remover for that stain and give it a few minutes before washing.
Different stains need different chemistry, so match the stain to the method:
| Stain | First move | Why it works | Full method |
|---|---|---|---|
| Coffee & tea | Flush with cold water, then dish soap | Tannins stay soluble in cold water; heat sets them brown | Coffee stain guide |
| Blood | Cold water only — never warm | Warm water cooks the protein and locks it into the fibres | Blood stain guide |
| Grease & oil | Dish soap or a dab of detergent, worked in | Surfactants break up the oil so water can carry it away | Grease & oil guide |
| Sweat & yellow armpit | Oxygen bleach soak (not chlorine) | Oxygen bleach lifts the protein-and-antiperspirant residue | Sweat stain guide |
| Red wine | Cold water, dish soap, then an oxygen-bleach soak | Pigments and tannins stay liftable until heated | Red wine guide |
For the step-by-step on each, see the dedicated guides: coffee, blood, grease and oil, sweat and armpit stains, and red wine. The one rule that applies to all of them: no heat until the stain is gone.
Load the drum properly
Aim to fill the drum about three-quarters full — you should be able to slide a flat hand into the gap at the top. A crammed drum stops clothes tumbling through the water, so detergent never reaches everything and clothes come out poorly rinsed; a half-empty drum just wastes water, energy and detergent.
Before you close the door, two quick checks save a lot of grief:
- Empty every pocket. A forgotten tissue shreds across a whole load, and a pen or lip balm can stain everything in the drum.
- Zip up zips and fasten hooks. Open metal zips snag knitwear and chip drum enamel; do up bra hooks so they don’t tangle.
Turn delicate items and dark denim inside out to cut surface abrasion and fading.
Dose detergent by load and water hardness
More detergent does not mean cleaner clothes — it means residue. Excess suds also strain the pump on high-efficiency machines and can leave clothes smelling musty. Consumer Reports puts the right amount for a normal load at about 1½ ounces — roughly two tablespoons, the size of a shot glass — and warns that anything past three tablespoons starts leaving residue on clothes and inside the machine. That is far less than most caps suggest, so start at the lowest line and treat the cap markings as a maximum, not a target.
Then adjust the dose to the load and your water, the two variables the American Cleaning Institute says matter most: use less for a small, lightly soiled load or soft water, and more for a large or heavily soiled one. Hard water is full of calcium and magnesium that bind to detergent before it can clean, so it needs a larger dose:
- Soft water — use the lower end of the range; you may even need slightly less than the pack says.
- Moderately hard water — use about 1.5× the normal dose.
- Very hard water — use up to 2× the normal dose, or switch to a powder detergent, which carries its own water softener.
Liquid, powder or pods — and the one beginner mistake
The three detergent formats are not interchangeable, and each has a job it does best. Whirlpool’s own guidance lines them up like this: powder is strongest on ground-in dirt like mud and clay and copes well with hard water; liquid handles greasy, oily marks and lets you dab it straight onto a stain to pre-treat; pods are pre-measured, low-suds doses that take the guesswork out of dosing — handy when you are starting out, though they cost more per wash and give you no control over the amount.
The mistake nearly every beginner makes is putting the pod in the detergent drawer. Pods go in the empty drum, not the drawer — drop one in the bottom before you load the clothes. They are built to dissolve in the water that collects in the drum; left in the dispenser they often don’t break down fully, so you end up with undissolved film on your clothes and detergent that never reached the wash. Liquid and powder, by contrast, go in the drawer (or a dosing ball in the drum) as usual.
Not sure about your water?
Most regional water suppliers publish their hardness online. The quick rule of thumb: if you see limescale building on the kettle or taps and soap is slow to lather, treat your area as hard, start at the higher dose, then dial back if you notice residue on dark clothes. To put a number on it,
water-hardness test strips
↗read your tap water in seconds — useful if you also plan to size a softener, though for dosing alone the kettle-and-lather check is usually enough.
Pick the cycle and temperature by fabric
The cycle controls how roughly the machine handles your clothes; the temperature controls cleaning power versus fabric stress. Match both to the fabric, not to habit:
- Normal / cotton — vigorous agitation and a fast spin for sturdy cottons, linens and mixed everyday loads.
- Permanent press / easy care — warm wash, cool rinse and a gentle spin to keep synthetics and work shirts from creasing.
- Delicate / hand wash — cool water, minimal agitation and a slow spin for silk, fine knits and anything labelled delicate.
For a deeper setting-by-setting route, use the washing machine cycles guide before you decide whether Normal, Delicate, Heavy Duty, Bedding or Quick is the right route.
For temperature, most everyday clothes wash perfectly at 30 °C (86 °F), which protects colours and saves energy — ENERGY STAR puts water heating at about 90% of the energy a wash uses, so a lower temperature is the single biggest saving on the cycle. Step up to 40 °C (104 °F) for sweaty everyday wear and to 60 °C (140 °F) for towels, bed linen and anything that needs a hygienic clean: a 60 °C wash removes the great majority of micro-organisms, which is why infection-control guidance reserves it for items worn next to the skin. The numbers and trade-offs are covered in the laundry temperature guide, and the getting started with cotton guide shows how far you can push that fabric specifically.
Always let the care label override your default — under ISO 3758, the international standard for care symbols, the wash tub shows the safe maximum temperature, not a recommendation:
Decode the care label in ten seconds
Once you can read the little symbols on the inside tag, you never have to guess. Under ISO 3758 (and GINETEX, which sets the same symbols in Europe) there are five basic shapes, always printed left to right in the same order:
- Washtub — washing. The number inside is the maximum wash temperature in °C; a hand in the tub means hand-wash only.
- Triangle — bleaching. Empty means any bleach is fine, two diagonal lines mean oxygen bleach only, crossed out means no bleach.
- Square — drying. A circle inside the square is the tumble dryer, and the dots set the heat: one dot = low, two = normal. Plain lines (no circle) mean natural drying — a vertical line is hang to dry, a horizontal one is dry flat.
- Iron — ironing. Dots set the heat: one = low, two = medium, three = high.
- Circle — professional cleaning. The letters inside are for the dry cleaner, not for you.
Two rules cover the rest. Dots always mean temperature — more dots, more heat — and a cross through any symbol means “do not”: a crossed-out tumble dryer means air-dry only, a crossed-out iron means don’t iron. So a tag reading washtub-30, no-bleach triangle, one-dot dryer, one-dot iron translates to: machine wash at 30 °C max, no bleach, tumble dry low, iron cool.
Hand-wash anything labelled delicate
When the label shows a hand in the washtub — or a “do not machine wash” symbol — the garment needs to be washed by hand. It takes five minutes and saves silk, fine knits, lace and embellished pieces from the machine’s agitation.
- Fill a basin with cool water (below about 30 °C / 86 °F — warm water can shrink wool and bleed colour) and stir in a small amount of a gentle detergent until it dissolves, before the garment goes in.
- Submerge and swish gently for a minute or two, then leave it to soak for around five minutes. Don’t rub, wring or scrub — that’s what felts wool and stretches knits out of shape.
- Rinse in clean cool water until it runs clear, draining and refilling the basin two or three times to clear all the detergent.
- Press out the water — lift the garment, support its weight so it doesn’t stretch, and squeeze gently or press it against the side of the basin. Never twist.
- Dry flat. Roll the piece in a clean towel to blot the worst of the water, then lay it flat on a fresh dry towel away from direct heat and sun. Hanging wet knitwear lets gravity pull it out of shape.
A mesh laundry bag↗ is the middle-ground option if hand-washing every time is unrealistic: it lets you run sturdier “delicates” through the machine’s gentle cycle with far less snagging. True delicates — silk, anything labelled hand-wash — still do best by hand.
Dry gently — and safely
Heat is what wears clothes out fastest, so dry as cool as you can. But before the dryer settings, there is one step that matters for your house, not just your clothes.
Clean the lint filter before every load. Pull out the screen, peel off the felt of lint and drop it in the bin. Lint is highly flammable, and the U.S. Fire Administration’s advice is blunt: clean the filter before you use the dryer. Failure to clean the dryer is the leading factor in the roughly 2,900 home dryer fires reported in the U.S. each year, because trapped lint chokes the airflow and the machine overheats. It takes five seconds and it is the single most important safety habit in the laundry room.
With the filter clear, dry on the gentlest setting the fabric allows:
- Air-dry where you can. A drying rack or line costs nothing, causes no shrinkage and is gentlest on elastic and prints. Hang knitwear flat so it doesn’t stretch.
- Tumble-dry on low heat. High heat shrinks cotton, sets wrinkles and breaks down elastane over time. Use a low-heat or “permanent press” setting rather than the hottest one, and let the cool-down phase at the end of the cycle run — it relaxes wrinkles instead of baking them in.
- Take clothes out the moment the cycle ends. Clothes left sitting in a warm heap as they cool set into creases that are then a chore to remove. Pull items out while slightly damp if you can, and finish them on a hanger.
- Never tumble-dry a stain you haven’t removed — the heat locks it in for good.
The label confirms whether low-heat tumble drying is even allowed:
Fold, hang and put it away
The last step is the one most people skip, and it undoes the rest. Fold or hang each item straight out of the dryer, while it is still warm — that residual heat lets the fabric settle flat, so a five-second fold now saves an iron later.
- Hang anything that creases easily or holds a shape: shirts, dresses, trousers, knitwear (on a flat surface or padded hanger so it doesn’t stretch).
- Fold T-shirts, towels, bedding and underwear, and put them away rather than living out of a clean-laundry pile — clothes left in a heap re-crease, and the pile quietly becomes “the chair” everyone has.
Get the sort right, treat stains before they set, dose to the load, dry cool and fold while warm, and the rest of laundry is just repetition. When you are ready to go deeper on a specific fabric or temperature, the guides linked above pick up where this one leaves off.